
The best perfume display stands for perfume retailers match a specific selling task: a compact tester stand for sampling, a freestanding island for a focused collection, or a wall display for the main assortment. Choose the format by testing representative bottles and cartons, customer approach, staff replenishment, cleaning, and the measured room. A decorative riser cannot replace a service counter or establish that a larger display will fit. This guide connects stand selection to the complete perfume retail fixture package so each unit has a clear role and a comparable supplier specification.
This guide concentrates on specifying and purchasing a display package. It complements visual inspiration by translating a store concept into a measured brief and a quote that can be compared with the retailer’s actual operating needs.
Define the display jobs before choosing the fixtures
Begin with the assortment rather than a preferred cabinet style. List the brands or product groups, the bottles and boxes to be shown, the pieces that require a front-facing presentation, the items used for testing, and the stock that must remain accessible to staff. If a launch or seasonal story changes often, note how frequently the display is expected to reset. Measure representative products; bottle and carton sizes vary, so a supplier should not design around an assumed standard footprint.
Separate customer-facing product from back-stock in the brief. Decide which items should be touched, which should be presented behind glass, and how staff will replenish, clean, and open each unit. These are operating choices for the retailer. Fixture drawings should make them visible so security, service, and styling do not become last-minute conflicts.
Choose fixture types by their role in the store
A perfume store may use several fixture formats together. The right mix depends on the room, range, customer path, and staff workflow.
| Fixture format | Role it can serve | Details to resolve in the brief |
|---|---|---|
| Backwall display | Organizing a wider range along the perimeter and creating a clear brand zone | Wall attachment, shelf spacing, top signage, wiring route, corner and end conditions |
| Tester or consultation counter | Supporting assisted browsing and product comparison | Working surface, tester positions, storage, cleaning access, staff position, and power if used |
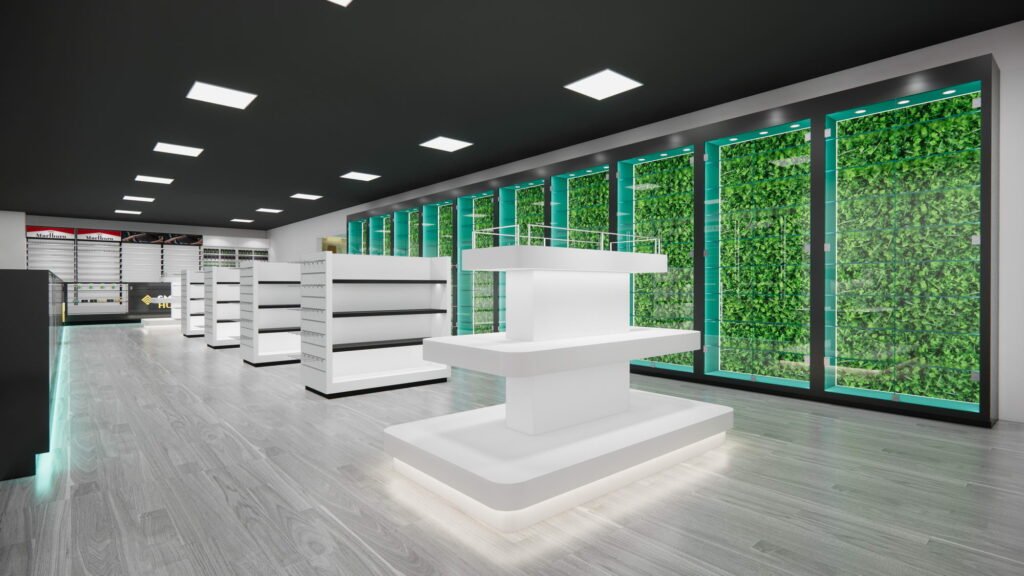
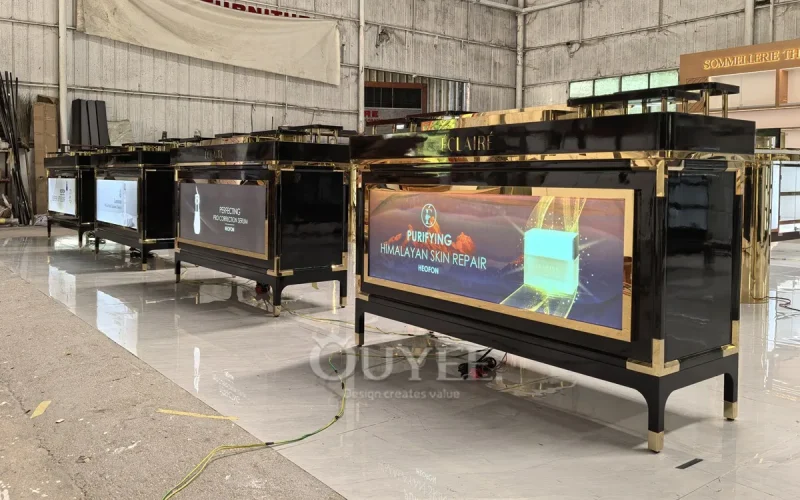
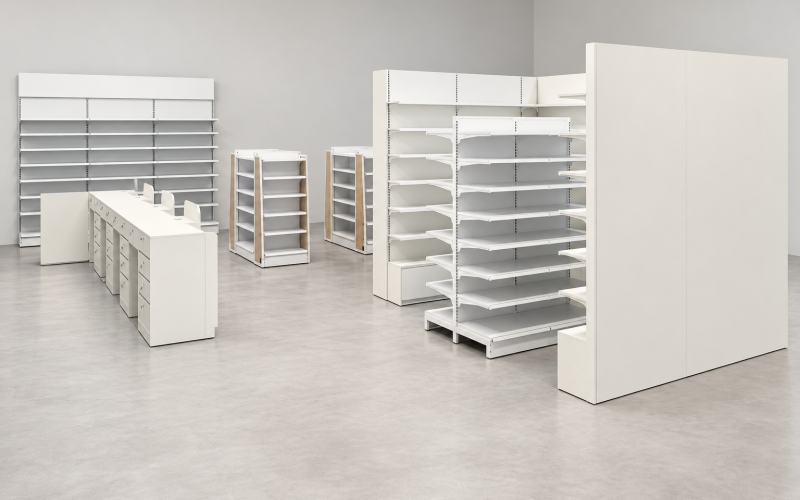
| Gondola or center island | Presenting a focused collection where shoppers can approach from more than one side | Reach from each side, visibility across the room, service clearance, and stable placement |
| Glazed display case | Showing selected items with a controlled access point | Lock and key plan, door swing, glass cleaning, glare, and staff access for replenishment |
| Small countertop display | Highlighting a limited product or launch near a staffed service area | Counter dimensions, queue interaction, cable management, and how the unit is secured |
These formats can be combined, but each one needs a defined job. A backwall can organize a range; it does not automatically provide an effective testing surface. A counter can support consultation; it should not be treated as storage for every item in the collection. A center island may attract attention but still needs to preserve the planned routes and staff sightlines.
For examples of how different fixtures can look in a project, browse our perfume shop design ideas. Use those examples for visual discussion, then base the final dimensions on the store and product schedule.
If you are preparing a brief for a design review, the perfume display download center collects planning materials that can help your team organize its questions before requesting a quote.


Choose a perfume stand by the task, not the organizer label
A personal perfume organizer and a retail display stand can look similar in a search result, but a shop needs an operating brief. Identify whether the unit presents a limited launch, holds testers during a consultation, or displays sealed merchandise for staff retrieval. List the products that customers may handle and those that remain under staff control. Specify the complete display rather than buying a small stand and hoping it will resolve storage, service, and security at once.
For a countertop riser, measure the available counter after allowing for the actual service task. Load the proposed arrangement with representative bottles and check whether labels remain visible from the customer approach. Ask the supplier how the stand is supported and cleaned and which surface it is intended to sit on. Do not assume a clear material is a particular grade or that an attractive stepped form has a verified capacity.
Compare a tester stand with a freestanding island
A tester stand keeps a small selection together at an existing service position. A freestanding island creates a separate place to browse and may be approached from several sides. Test the island’s complete loaded footprint, including open doors and staff access, on the measured plan. Make sure its role remains clear when the collection is partly sold and when a customer is comparing several scents. A unit that works only when perfectly staged may be difficult for a small team to maintain.
Ask the store team to demonstrate a normal sale: introduce the selection, offer the approved sampling method, retrieve sealed stock, and restore the display. Then demonstrate replenishment and cleaning. Record any point where the staff member crosses the customer’s position or leaves open stock unsecured. The fixture layout should support the retailer’s approved operating rules; it cannot decide those rules on its own.
Request evidence before calling one stand the best option
Compare shortlisted units using the same bottle group, finish sample, and lighting conditions. Record usable dimensions, specified materials, supplier-stated limits, included accessories, and the approved cleaning procedure. For illuminated units, identify power supply, cable route, access for maintenance, and the party responsible for electrical work. Keep project requirements and local approvals separate from decorative preferences.
Document the trial in a numbered approval record linked to the quote. Note which design revision was reviewed, what remained unresolved, and how missing or damaged parts will be handled. These checks do not create a universal ranking of stands. They establish which proposal best fits this retailer’s assortment and working routine without relying on consumer organizer reviews or unsupported claims about sales performance.
Map the room, customer route, and staff tasks
Prepare a dimensioned plan showing walls, columns, doors, glazing, checkout, storage, power, and any fixed building services. Add the proposed fixtures and indicate where shoppers approach, test, compare, queue, and pay. Mark the areas staff need to reach while replenishing and cleaning. Include door swings, open case doors, pull-out storage, and the route needed to bring each unit into the store.
The U.S. Department of Justice overview for public businesses explains that shops need to consider access to goods and services and applicable physical accessibility requirements. Review the store plan with the responsible project team, and verify emergency exit routes separately with the local safety professional. A display quote is not approval of the building layout.
Sketch the shopper and staff paths on the plan, then test the same layout with real product and operating examples. Imagine a customer testing a fragrance while another approaches the counter, a staff member restocking the backwall, and a case door open for service. This reveals conflicts that a flat front elevation will not show.
A short accessibility reference for fixture placement
For U.S. projects, use the U.S. Access Board guide to accessible routes alongside the project designer’s assessment of the actual room and display arrangement. Check the loaded stand and customer approach as part of that review; the appearance of a fixture does not establish compliance.
The U.S. Access Board’s Wheelchair Maneuvering demonstration covers clearances and reach considerations that can affect how customers approach fragrance display shelves and counters. Use it as an educational reference alongside the written standards and local project review.
Watch Wheelchair Maneuvering from the U.S. Access Board on YouTube.
Write down the product and construction requirements
Give the supplier a fixture schedule with a name and location for every unit. For each item, record the finished outside dimensions, usable shelf or work-surface dimensions, product footprint, finish, graphics, glass or acrylic components, lighting, electrical scope, and any access control requested. Distinguish between the display area and the storage area. If items are meant to be reached from only one side, show that on the drawing.
Ask for supplier-stated shelf or counter capacity for the exact proposed construction and ask how it was determined. Confirm attachment and anchoring requirements, glass or panel specifications, edge treatment, and the maintenance procedure for the selected finishes. Do not infer a load rating from appearance or compare values from different suppliers without understanding their stated test or use conditions.
If lighting is included, specify the products and surfaces that should be illuminated, where the power supply sits, how wires are routed, and who is responsible for connection and service. Review finish samples and a lit mock-up in conditions close to the store. The appearance of a finish and of the product can change under different surrounding light, so one digital rendering is not enough to approve a material or color.
Plan tester and consultation zones as work areas
A tester counter combines merchandising with a repeatable staff task. Decide where the test products sit, which side the customer approaches, where staff can stand, and where strips, cleaning materials, and other approved supplies are kept. Show storage and replenishment on the drawing. Keep the customer surface easy to understand and the back-of-counter work area practical to reach.
Agree on the retailer’s own process for handling testers and used materials. The display supplier should not be asked to invent product-handling or safety instructions. If the retailer has brand standards, cleaning rules, or a required set of tester labels, attach those documents to the brief and verify that the proposed fixture gives staff a workable way to follow them.
For an example of a combined backwall and tester surface, review the perfume backwall with an oval tester counter. Treat the page as a design reference; check the actual dimensions, materials, electrical details, and project scope before using an example as a specification.
Decide what should be custom and what can stay modular
Modular components can be useful when the assortment changes, several locations need compatible fixtures, or the display will be reconfigured. A custom unit can address a particular footprint, finish, brand presentation, or room condition. The decision should follow a real requirement rather than a general preference for custom work.
Ask the supplier to label each component as standard, modified, or project-specific. Confirm which parts are interchangeable and whether replacements will match the approved finish. If a fixture is designed for a wall, island, or counter, make sure the quote states the fixing method and the site assumptions. For example, the perfumery gondola display and the boutique wall display with a center island represent different ways to organize the room; neither example determines what your project needs.
Compare supplier quotes line by line
Send each supplier the same plan, fixture schedule, finish brief, and delivery assumptions. Ask for a line-item proposal with drawings, dimensions, material and finish descriptions, hardware, lighting, graphics, packing, shipping, installation, exclusions, and approval milestones. If bidders interpret the scope differently, ask them to list their assumptions before comparing totals.
| Quote item | What to compare | What a clear answer looks like |
|---|---|---|
| Layout and dimensions | Plan, elevations, overall size, usable display space | Each unit has a location, drawing reference, and agreed measurement basis |
| Materials and finish | Substrate, surface, edges, metal, glass, graphics | Named materials and a physical sample or approval method |
| Operation | Access, locks, adjustments, cleaning, replenishment | Retailer tasks are addressed in drawings and instructions |
| Lighting and power | Included parts, wiring, connection, service responsibility | Electrical scope and exclusions are written down |
| Delivery and installation | Crating, shipping, assembly, site access, damaged parts | Responsibilities and approval checkpoints are explicit |
Before production, agree on what the sample or first article will verify: dimensions, finish, fit with the actual bottles and cartons, lighting appearance, access, and assembly. Record approval and open issues. If multiple stores are involved, confirm which details must remain consistent and which may change by location.
Use a product trial to compare the shortlisted fixtures
Bring representative bottles, cartons, tester items, and the retailer’s approved accessories to a sample review. Include a tall carton and a wider bottle rather than testing only the smallest item. Arrange one realistic product group on the proposed shelf and another on the tester surface. Check label visibility, the space customers need to handle an item, and the way a staff member replaces sold stock. Confirm shelf spacing and usable depth on the drawing; a display photograph cannot establish those dimensions.
Review the same arrangement from the customer approach and staff position with the intended lighting switched on. Look for reflections that conceal labels, shadows over the tester area, and wiring that interferes with access. Assess appearance using the actual packaging and approved finish sample, without treating a bright rendering as proof of lighting performance. Ask the supplier to document any revision to the lighting, surface, or shelf arrangement before production approval.
Make approval and delivery checks repeatable
Give each fixture an item number shared by its drawing, quote, sample record, and packing list. At delivery, compare dimensions, finish, doors, locks, accessories, and included electrical components with the approved documents. Follow the supplier’s assembly and connection instructions, and leave regulated electrical work to the responsible qualified team. Record missing or damaged pieces before the store opens. A clear acceptance record helps resolve a specific discrepancy without changing the agreed scope through informal conversations.
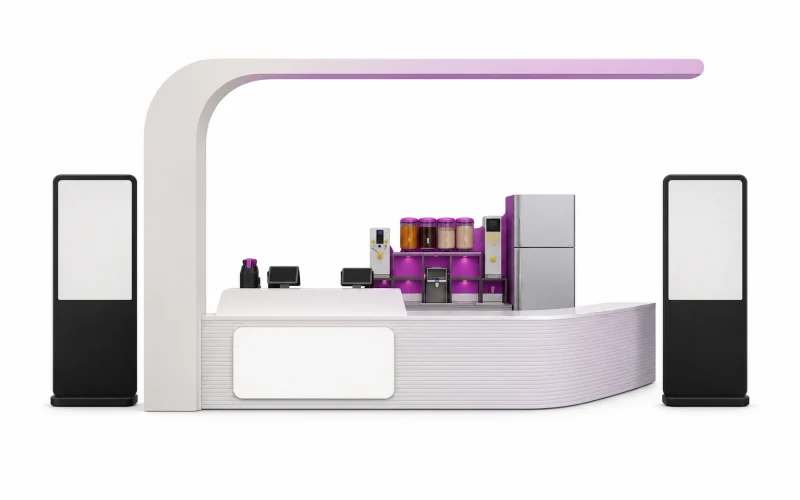
Use the perfume display collection to organize the fixture brief and the mall perfume kiosk guide for the separate constraints of a freestanding kiosk. A full store stand and a leased mall kiosk should not share an assumed footprint or operating plan.
Common planning mistakes
- Choosing fixtures before measuring the actual room and products.
- Using one case for display, testing, storage, and staff service without defining each task.
- Approving finish or lighting from a screen without a physical or lit sample.
- Leaving power, wiring, installation, or replacement parts outside the quote scope.
- Ignoring who opens, cleans, and replenishes a case during normal store operations.
- Using a product photo as the specification instead of a dimensioned drawing and written schedule.
A good perfume display package makes the product story clear and gives staff a workable way to maintain it. The brief should say what each unit does, what it is made from, where it sits, how it is serviced, and what the supplier must deliver. Those answers let a retailer compare a standard option with a custom proposal on something more useful than appearance alone.
Frequently asked questions
What belongs in a perfume retail display request for quote?
Include a measured plan, product and fixture schedule, intended use of each unit, finish references, material expectations, tester or storage requirements, lighting and power scope, delivery and installation assumptions, supplier-stated capacities, and the sample approval process. Identify exclusions and local project requirements.
Should testers and sale products share the same display?
That depends on the retailer’s operating and brand requirements. The plan should identify which items are for testing, which are sale stock, who can access them, and how staff will replenish and maintain the area. Give the supplier those requirements instead of asking the fixture alone to resolve them.
Is a backwall or an island better for perfume?
They serve different roles. A backwall can organize products along the perimeter; an island can present a focused collection from multiple approaches. Compare the actual plan, product mix, customer route, service needs, and sightlines before selecting a format.
How can I compare custom and modular perfume displays?
Ask both options to address the same dimensions, finish, product list, service tasks, delivery scope, and future changes. Compare drawing clarity, approval effort, replacement parts, and total project scope as well as the initial price.
What should a perfume display sample review include?
Use representative bottles, cartons, tester items, and the approved finish sample. Check shelf spacing, label visibility, customer approach, staff access, door or lock operation, and lighting with the actual products in place. Record agreed changes against the drawing before authorizing production.

 English
 German
 Arabic
 French
 Spanish
 Italian
 Russian
 Turkish
 Portuguese
 Japanese