
A useful jewelry showcase glass reflection sample test reproduces the proposed cabinet, lighting, background and customer viewing positions before the order is approved. Put representative jewelry inside a sample case, inspect it from the actual approach routes, and change one condition at a time. Record which reflection obscures which item, rather than asking whether the glass looks generally clear. A sample can look excellent in a supplier photograph yet hide a pendant behind a reflected window in your store. The practical deliverable is an agreed viewing test and an approval record for the supplied configuration.
This guide addresses visible reflections and buyer acceptance. It does not specify safety glazing, glass thickness, security performance, coating durability or electrical work. Those requirements need separate manufacturer documentation and project approval. Photographs below are product-reference illustrations, not measurements or completed-store case studies.
Define the viewing problem before choosing a glass description
Start with the item a customer must be able to inspect through the closed case. A necklace pendant, a watch dial and a small ring ticket present different visual tasks. Select examples from your intended assortment, including both pale and dark display supports. Keep their positions fixed while comparing conditions. If the assortment is not yet available, identify the temporary objects used and repeat approval with representative merchandise before committing to production.
Separate a reflected image on the glazing from a bright highlight on the jewelry itself. A window shape that moves across the glass as the observer steps sideways suggests a different problem from a highlight that stays on a polished ring. Dirty glazing, protective film and marks on the sample can also distract the viewer. Record these conditions first, so that a cleaning or sample-preparation issue is not mistaken for a reason to change the entire cabinet.
The general cabinet selection questions belong in our jewelry showcase buying guide. Here, the decision is narrower: can the proposed viewing arrangement let customers see the selected products clearly enough for the agreed retail task?
Why the same cabinet looks different from another position
Smooth surfaces send reflected light in particular directions. OpenStax explains the law of reflection: the incoming and reflected ray angles are equal when measured from a line perpendicular to the surface. Consequently, moving the observer or changing the source position can move an unwanted reflection without changing the jewelry. This principle explains the test sequence; it does not establish any particular cabinet’s optical performance.
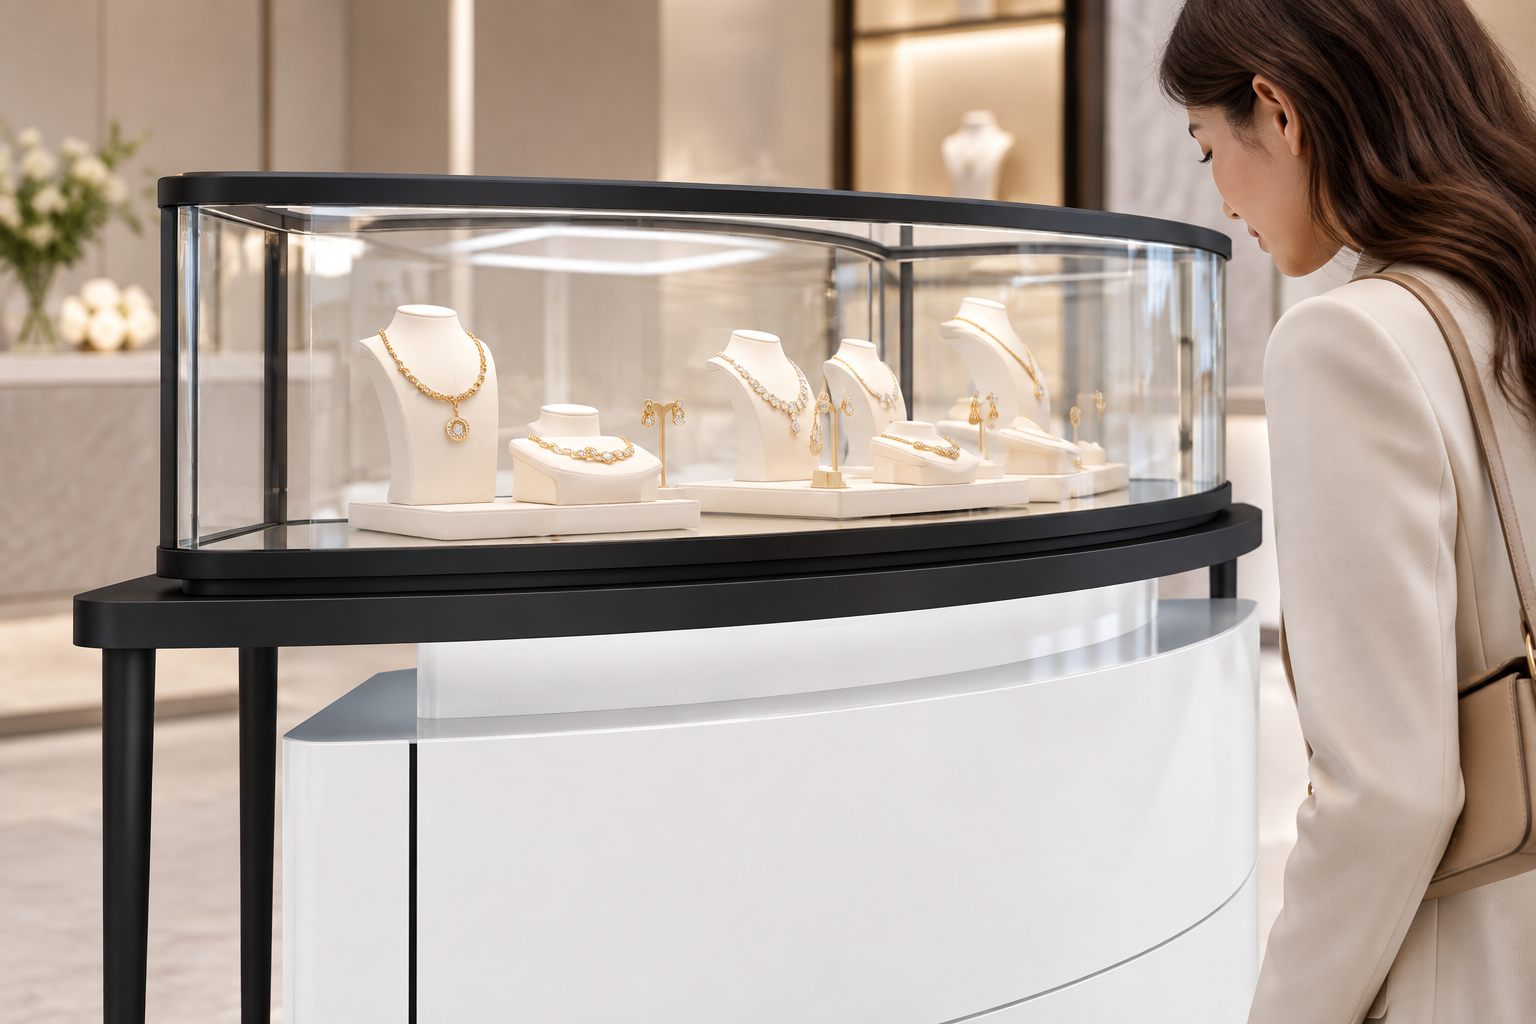
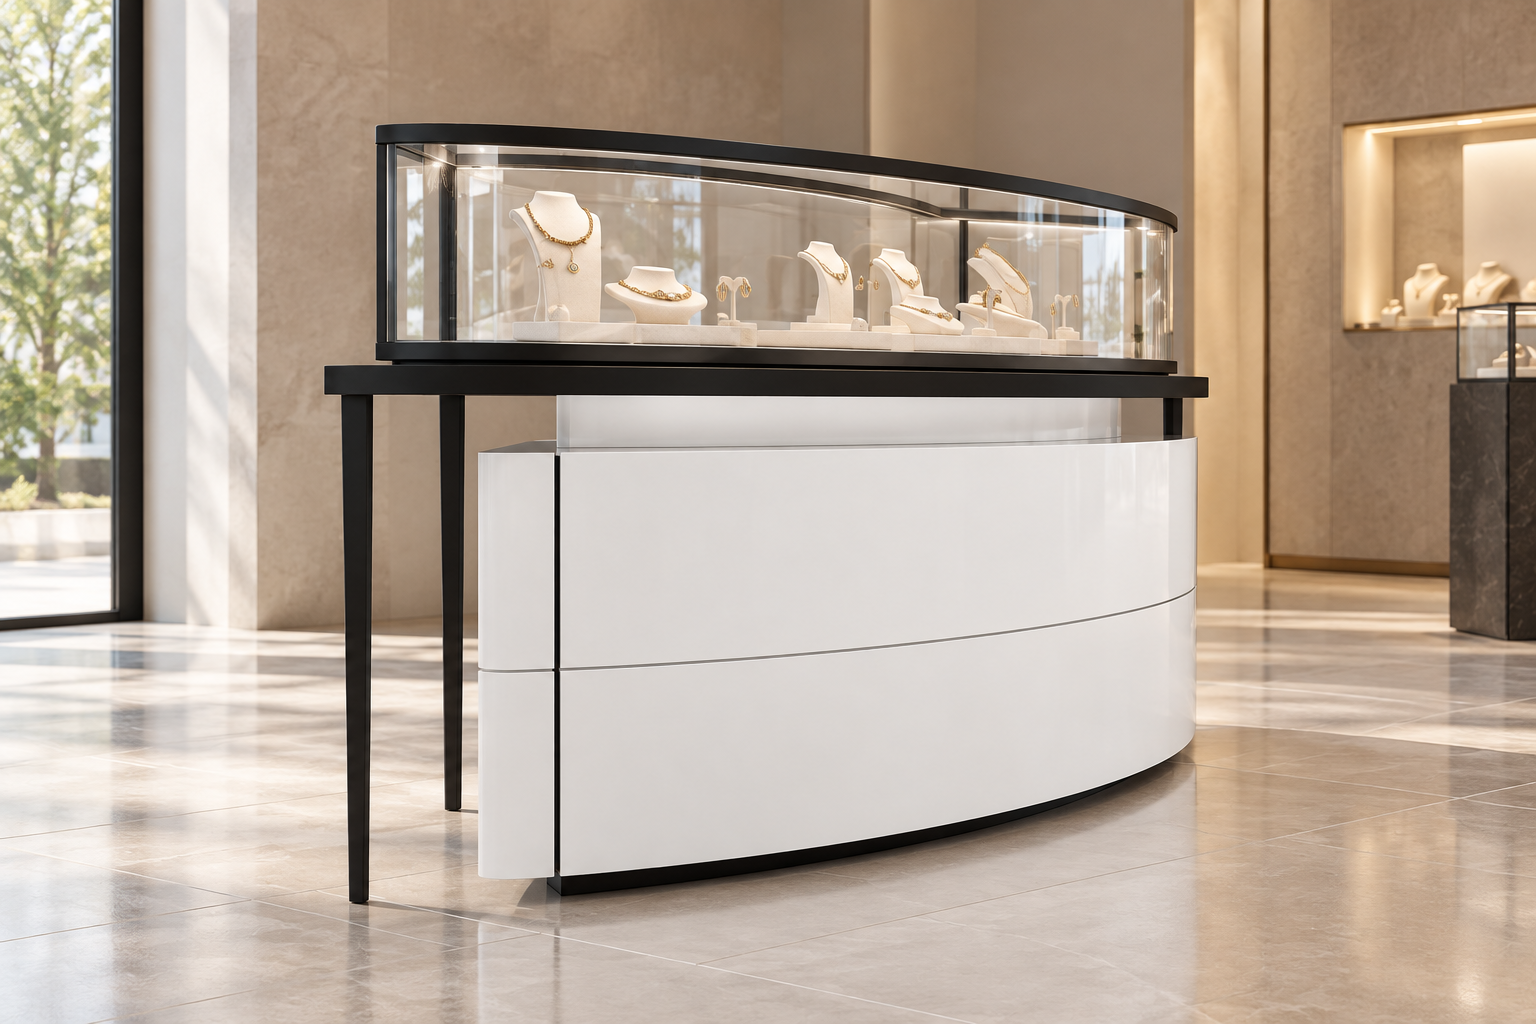
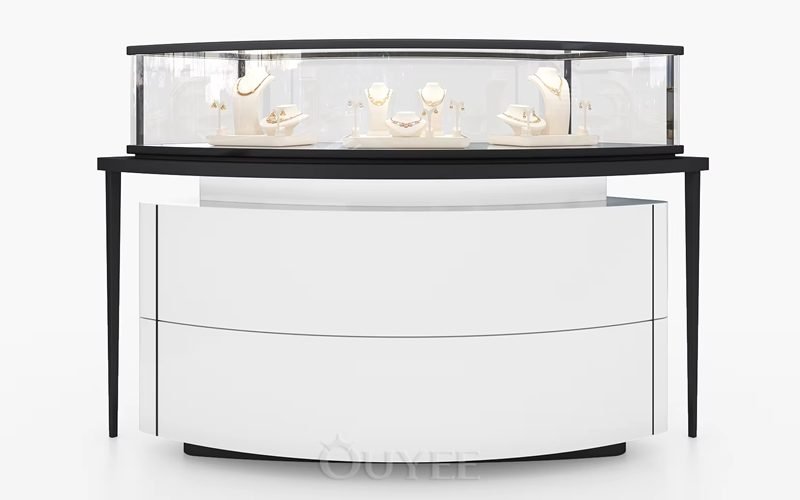
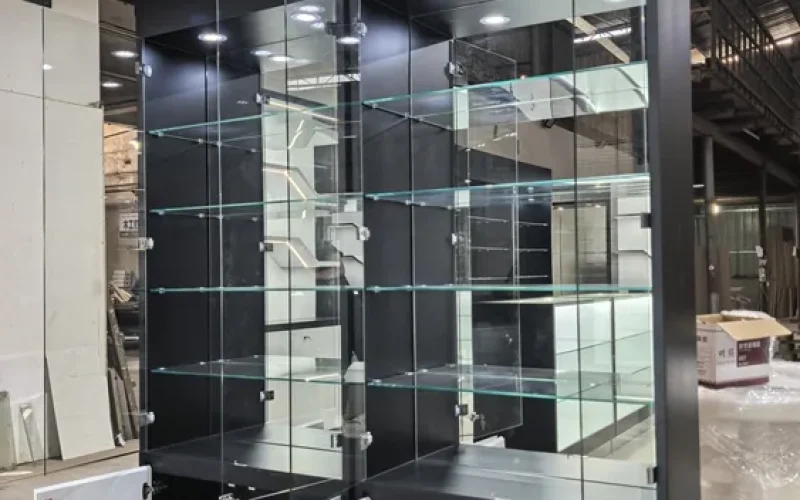
A curved front adds another practical consideration: the orientation of the visible surface changes along the curve. Inspect the center, both ends and the transitions between adjoining modules. An acceptable straight-on view of one section does not approve the full run. The University of Waikato’s Science Learning Hub overview distinguishes directional reflection from smooth surfaces and scattered reflection from rough surfaces. Use that distinction to describe the observation accurately, without assigning an unverified coating or reflectance value to the product.
Prepare a sample that represents the proposed order
Ask the supplier to identify the sample cabinet and glazing in writing. Record whether the sample is a standard showroom unit, a production sample or a proposed alternative. Note the visible frame arrangement, the shape of the front and top panels, and the display deck finish. A loose glass coupon can help compare appearance, but it cannot reproduce every reflection created by the assembled case, its frame, internal lights and surrounding room.
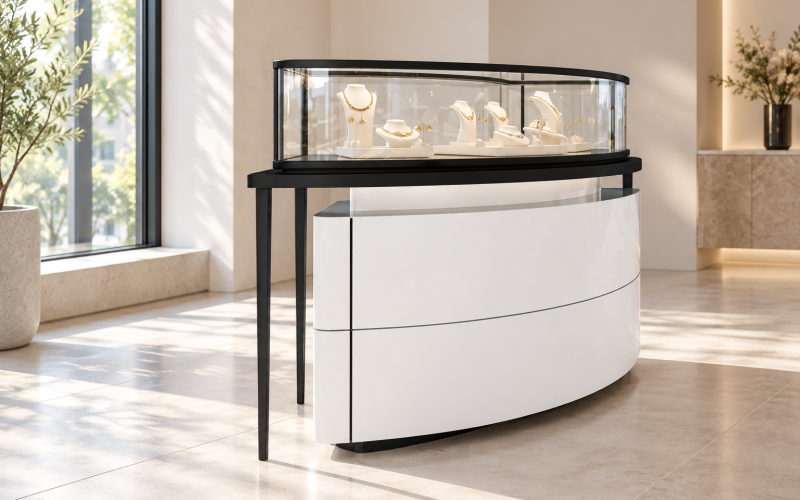
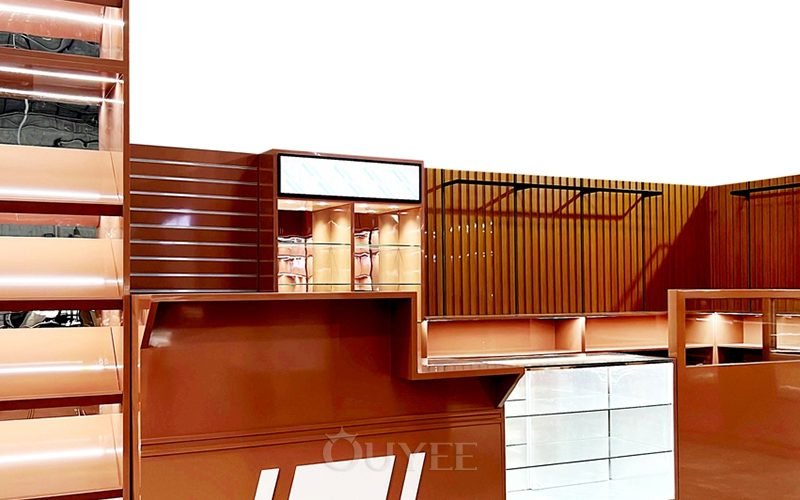
Use the curved jewelry showcase product reference to discuss the visible cabinet form with the supplier. Confirm the actual order configuration separately. A photograph cannot establish glass composition, an optical treatment, or the brightness available from the delivered lighting system.
Obtain the proposed lighting arrangement and the permitted adjustment method. Record which lights belong to the case and which belong to the store. Do not remove covers, rewire a sample or attach improvised shielding to hot or electrical components. Have the responsible specialist make any adjustments that need professional work. Keep customer routes clear during the test, and use a stable, approved sample installation.
Make a compact test record before the visit
The following table is a practical observation plan, not a standard or numerical pass threshold. Agree the merchandise and viewing tasks with the store team before the visit. Each row should end with a photograph reference and a written outcome; a collection of attractive pictures without locations or conditions is difficult to use at approval.
| Test condition | What to observe | Evidence to retain |
|---|---|---|
| Main customer approach | Whether the intended focal item remains visible while approaching the closed case | Marked standing position, item location and an overall photograph |
| Lower viewing position | Whether the front frame or reflected ceiling hides the item or its ticket | Observer position and the exact obstructed detail |
| Both ends of a curved section | Whether a reflection crosses the display as the observer moves sideways | Separate left, center and right observations |
| Daylight condition | Whether windows, entrance glazing or bright exterior signs dominate the view | Time, weather, shade position and window relationship |
| Store and case lights separately | Which source creates the distracting reflected image | Lighting scene and the single change made between comparisons |
| Final combined scene | Whether an improvement remains acceptable for adjacent items and approach routes | Approved configuration, unresolved issues and responsible reviewer |
Walk the customer route and compare one change at a time
Begin with the cabinet closed and arranged as it would be during trading. Stand at the main approach, then inspect from the likely browsing locations. Include a lower viewing position in the agreed test. Do not translate this observation into a claim of accessibility compliance; reach, circulation and other applicable requirements need their own review. For this exercise, the question is simply whether the intended item can be seen from each recorded position.
When a reflection obscures an item, describe its shape and location. Identify the likely source: a window, a ceiling panel, an illuminated sign or another bright surface. If the responsible specialist can safely switch lighting scenes, compare the scene before and after one change. Keep merchandise and observer position unchanged. Otherwise, the apparent improvement may come from moving the jewelry rather than addressing the source that caused the complaint.
After finding a promising adjustment, walk the route again. A reflection displaced from the center may have moved onto a neighboring ring tray. Check the ends of the case and any adjoining module. Retest with both dark and light supports where those are part of the planned assortment. Avoid approving a solution that works only for one unusually favorable product placement.
Include daylight and the real surroundings
For a window-facing location, one evening showroom visit cannot represent daytime trading. Where possible, test in the intended location under the conditions that matter to the business. If site access is unavailable, document the difference between the sample room and the future store, and keep final site acceptance open. A mock-up is valuable only when its limits are visible in the approval record.
Record the position of blinds, entrance doors and nearby illuminated graphics. Note whether the sun or sky conditions changed during the comparison. You do not need to invent a universal reflection limit to make a useful decision. You need a repeatable task, a known configuration and a clear statement of which conditions have actually been observed.
Keep photographs comparable and limitations explicit
Use fixed photograph positions and label them in the test record. Keep the camera settings consistent where practical, particularly when comparing lighting scenes. Automatic exposure can make a darker scene appear similarly bright, and a photograph may emphasize or suppress reflections compared with direct observation. Retain the original files and record the scene; do not use edited marketing photographs as the acceptance evidence.
Ask two reviewers to perform the same viewing tasks independently when practical. One may notice a ticket obstruction that another overlooks. Record the disagreement as a specific issue, such as a reflected window crossing the pendant at the left approach. This gives the supplier something actionable to investigate and avoids an approval dispute based on the word “glare” alone.
Approve the configuration and plan the repeat check
The signed record should identify the sample, merchandise, observation locations, lighting scenes and any changes agreed. List unresolved conditions separately. If a different glazing option is proposed, request supporting specifications and a representative assembled comparison. Do not assume that low-iron, clearer-looking or specially named glass automatically solves the observed reflection. Confirm what is being supplied and repeat the task under comparable conditions.
Coordinate the outcome through the jewelry showcase planning service. Keep this optical acceptance record separate from lighting maintenance access checks, which concern reaching and servicing components, and ring display case selection, which addresses the wider display arrangement. Retest reflections after a major lighting, window-treatment or display-position change rather than assuming the earlier sample approval covers a new scene.
Watch the reflection principle
Khan Academy India – English’s educational video “Laws of reflection” explains why the observer and light-source positions affect a reflected image. It teaches the underlying principle; it is not a test or endorsement of any jewelry cabinet.
Watch Laws of reflection on YouTube.
Frequently asked questions
Can a supplier photograph replace a reflection sample test?
No. It records one camera position and one lighting scene. Use it to discuss the product form, then test the intended merchandise, customer positions and surroundings before approving the supplied configuration.
Is a loose glass sample enough?
It can support an appearance comparison, but it does not reproduce the complete cabinet, frame, display deck or internal lighting. Keep assembled-case and site observations in the approval process where those conditions affect the decision.
Does clearer glass guarantee fewer distracting reflections?
No such guarantee follows from appearance alone. Ask for the exact glazing specification and test the proposed option under comparable conditions. Record the specific reflection and viewing task that must improve.
Should all lights be made brighter to improve visibility?
Do not assume that this will help. First identify which source produces the unwanted reflection, then compare one approved adjustment at a time. Check adjacent merchandise and other viewing positions before accepting the change.
When should the reflection test be repeated?
Repeat the relevant observations when the supplied configuration differs from the sample or when lighting, window treatments, cabinet position or merchandise presentation changes enough to affect the approved viewing conditions.

 English
 German
 Arabic
 French
 Spanish
 Italian
 Russian
 Turkish
 Portuguese
 Japanese