
The best boutique clothing racks for independent apparel stores are the ones that fit the garments, the selling routine, and the usable floor plan. Use wall rails for a consistent perimeter collection, freestanding rails for flexible outfit stories, and face-out arms for a small selection that needs immediate attention. Choose a combination after checking actual hangers, garment lengths, replenishment, and customer movement. A decorative finish cannot compensate for a rail that is awkward to browse or a base that blocks the route.
This guide compares fixture formats and explains how to brief a wholesale supplier. It does not rank manufacturers or assume that one rack is best for every boutique. Start with the clothing store fixture collection when assembling a coordinated package, then verify the proposed units against the checks below.
Start with the garments and the way customers shop
Build a short assortment list before choosing rack shapes. Separate long dresses and coats, short hanging pieces, trousers, folded knitwear, and accessories. Bring the actual hangers you intend to use. A bulky hanger, a wide sleeve, and a long garment all change the space a rail needs. Supplier drawings should identify usable hanging length and clearance below the clothes rather than describing only the outside dimensions.
Next, describe how customers discover a collection. A shopper who browses a rail by size needs a different presentation from someone comparing a few complete outfits. Decide which fixtures carry the everyday assortment and which introduce a new arrival. Keep the display task separate from stock storage so the sales floor does not gradually become a crowded warehouse. Record which items staff retrieve and which shoppers handle independently.
Compare rack formats by the job they perform
The comparison below is a planning aid, not a statement of structural capacity. Obtain the supplier’s written load limits and installation requirements for the actual rack and accessories being ordered.
| Rack format | Useful boutique role | Check before ordering | Common compromise |
|---|---|---|---|
| Wall rail or wall bay | Organize a stable category around the perimeter | Wall construction, fixing responsibility, rail position and shelf clearance | Changes depend on the installed support system |
| Freestanding straight rail | Present a browsable capsule or size sequence | Loaded footprint, base projection, garment length and end access | A long rail can hide pieces behind the first garment |
| Face-out or multi-arm rack | Introduce selected styles from several approaches | Arm reach, hanger stop, spacing and loaded stability | Garments may extend beyond the apparent base footprint |
| Rail with shelves | Combine hanging garments with folded items or accessories | Separate load limits, shelf adjustment and staff access | Too many presentation levels can make the collection visually busy |
| Mobile rail | Support a documented reset or temporary presentation | Floor compatibility, caster specification, brakes and movement instructions | Mobility creates another operating task and does not establish stability |
Use the perimeter for a collection customers can understand
A wall rack can establish a clear category sequence without filling the middle of the shop. Group the range according to the way the store sells: collection, occasion, brand, or garment type. Avoid changing the organizing principle halfway along a continuous run. Label the bays on the layout so the supplier and merchandising team can discuss the same location without relying on a photograph.
Check what happens above and below the rail. A shelf above hanging clothes may suit a coordinated accessory, but only if staff can reach and replenish it using the store’s approved methods. The lower area needs enough room for garments to hang freely and for cleaning. Ask the installer to confirm the substrate and fixing design; an image of a wall bay does not prove that a different shop wall can support it.

Choose freestanding rails around a complete browsing movement
Mark the full loaded footprint on the measured plan, including sleeves, hanger ends, bases, and any sign holder. Then follow the shopper’s movement around it. Can a customer remove a garment, step back to see it, and return it without entering another rack? Review the route toward fitting rooms and the checkout with people browsing, not just with an empty floor.
A simple straight rail is often easier to reset than a complex fixture. That is useful when a small team changes collections frequently. It still needs a defined merchandising quantity and a clear purpose. Compare the same group of garments on each shortlisted rail; a spacious sample with three shirts cannot demonstrate how the proposed everyday assortment will behave when it is fully replenished.
Use face-out presentation selectively
Face-out arms help shoppers see a garment’s front before browsing the collection behind it. Use them to introduce selected pieces or a coordinated outfit. Check whether a shopper can lift a hanger away without catching a neighboring sleeve. Ask how arms attach, whether the position is adjustable, and which components must be ordered together. Similar-looking parts from different systems are not automatically interchangeable.
More arms do not automatically create a better display. Each adds a projection and another product group to maintain. Test the arrangement from the entrance and from the main browsing route. If one garment conceals the next category or blocks a useful view across the shop, reduce the presentation or change its position before committing to a large order.

Plan access using the actual store conditions
Place racks on a measured plan that includes doors, columns, fitting rooms, service points, and fixed building elements. The U.S. Access Board guide to accessible routes explains the relevant access concepts for U.S. projects. The 2010 ADA Standards provide the underlying requirements. Applicability depends on the facility and project; a fixture supplier’s rendering is not an accessibility assessment.
Review the loaded racks and normal operating activities with the responsible designer. Include fitting-room queues, a customer carrying several hangers, and replenishment work. Do not treat empty floor between rack bases as the whole usable route. Garments and projecting accessories can occupy that area. Changes after opening need the same attention so seasonal promotions do not undo the approved arrangement.
Watch Wheelchair Maneuvering from the U.S. Access Board for an educational explanation of maneuvering space. It supports the planning discussion; it does not approve a particular boutique layout.
Specify finishes, connections and adjustment parts together
Describe the finish on each visible component instead of asking only for a gold or black rack. Approve a physical sample under the intended lighting. Look at the rail, brackets, weld areas, fasteners, and any shelf edge as a coordinated assembly. If clothes touch the surface, inspect the sample for edges or irregularities that could catch fabric. Ask the supplier for the cleaning instructions appropriate to the supplied finish.
Adjustment is useful only when the required parts, instructions, and tools are available. List the rail heights and shelf positions that staff are expected to change. Confirm the procedure and which changes require an installer. Record spare brackets, end caps, fasteners, and finish touch-up arrangements in the quote. Do not infer a material grade, coating performance, or load rating from the appearance of a product photograph.
Run a loaded garment trial before approving the order
Take a representative mixed set to the sample review: a long piece, a bulky jacket, a light fabric, and the hangers planned for daily use. Ask staff to arrange the collection, remove a middle garment, replace it, and restore the display. Observe whether the base or accessories get in the way. Use supplier-approved loading and assembly methods rather than improvising a structural test.
Include a routine replenishment and a collection change in the trial. Time estimates should come from the store’s own observed work if they are needed for planning. Record what changed, who approved it, and the drawing revision. A useful sample record states exactly which assembly, accessories, and garment arrangement were reviewed. It gives the delivered order a concrete reference without promising an unmeasured sales improvement.
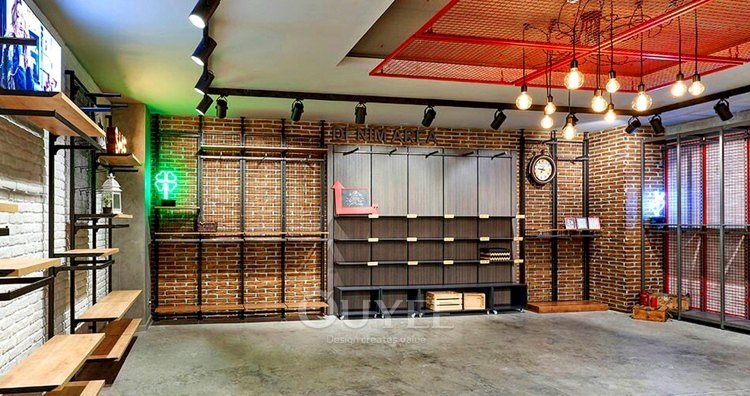
Compare wholesale quotations on the same schedule
Give each rack or bay an item number shared by the plan, drawing, quotation, and packing list. Ask suppliers to price the same quantity and accessory package. Separate freight, crating, installation, wall fixing, and any site work. A low headline price is hard to compare when a rail, a shelf, or an installation responsibility is absent from one proposal.
| Quote item | Evidence to request | Acceptance question |
|---|---|---|
| Dimensions and layout | Numbered drawing with usable hanging space and loaded projections | Does the unit fit the approved plan and garments? |
| Construction and finish | Component description, finish sample and supplier-stated limits | Does the delivered assembly match the approved version? |
| Accessories and spares | Part list, adjustment instructions and replacement availability | Can the team maintain the intended presentation? |
| Delivery and installation | Packing schedule, access assumptions and responsibility list | Who resolves missing, damaged or incompatible items? |
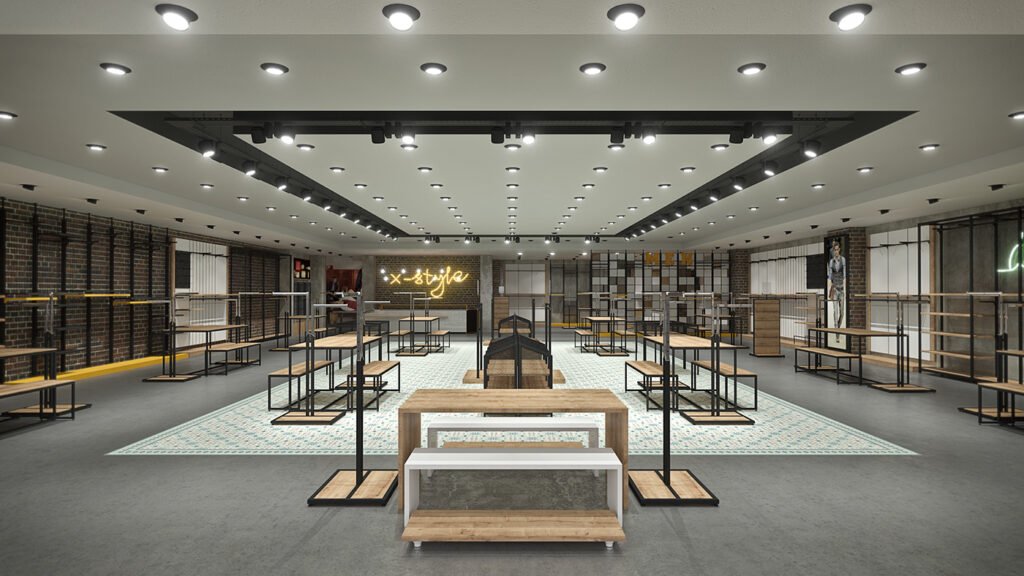
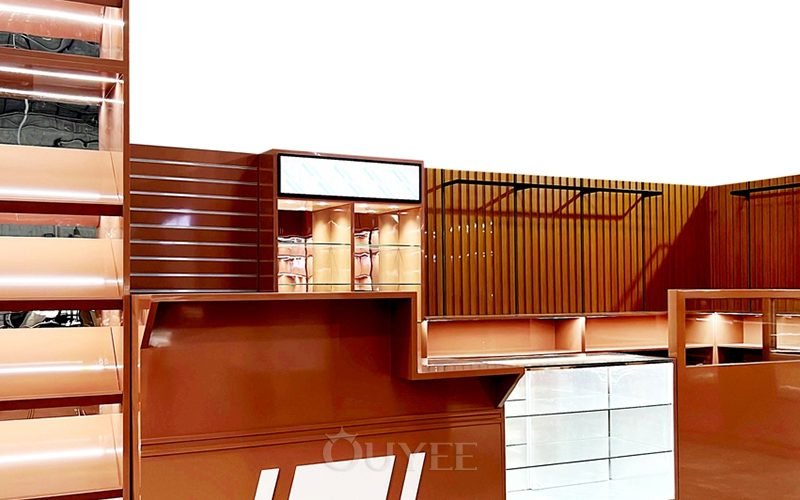
For a coordinated proposal, compare the site’s clothing display rack system and gold boutique rack collection as visual references. Their images show proposed arrangements; dimensions, materials, capacities, and delivered scope still require confirmation. The broader clothing store interior planning service can help connect the fixture schedule to the room.
Keep the rack decision separate from the display story
A rack specification explains what must be supplied and how it works. A merchandising plan explains which products go on it and how the collection is introduced. Use the boutique apparel display guide for the latter and commercial rack sourcing overview when considering the wider procurement category. Keep the final purchase tied to the approved sample and numbered schedule.
At delivery, reconcile the cartons with the packing list, document damage, check that the specified parts are present, and follow the approved assembly instructions. Open the store with an agreed replenishment quantity and a clear reset procedure. Revisit the arrangement when the assortment changes substantially. The best choice remains a fixture the team can use consistently, rather than the most elaborate rack in a catalog.
Frequently asked questions
Which clothing rack is best for a small independent boutique?
Start with the garment range and measured room. Wall rails can organize perimeter categories, while a limited number of freestanding racks can introduce collections. Compare the complete loaded footprint, customer approach, staff tasks, and supplier installation requirements before choosing a format.
Are wall-mounted racks better than freestanding racks?
They serve different purposes. Wall racks use the perimeter and depend on a suitable support and fixing design. Freestanding racks can offer more layout flexibility but occupy the selling floor. Evaluate both with the same garments and the approved customer route.
How many garments should a boutique rack hold?
There is no universal quantity. Hanger width, garment bulk, rail length, browsing space, and the supplier’s stated limits all matter. Agree on a representative assortment, test ordinary browsing and replenishment, and record the approved presentation rather than using an unsupported capacity claim.
What should a wholesale rack quotation include?
Include item numbers, quantities, dimensions, materials, finish samples, accessories, supplier-stated limits, assembly and fixing responsibilities, packaging, freight, installation assumptions, and spare parts. Use the same schedule for every supplier so exclusions are visible.
Can product images confirm that a rack will fit the shop?
No. Images help explain appearance and arrangement, but they do not establish usable hanging dimensions, material specifications, capacity, or site suitability. Confirm those points through measured drawings, supplier documentation, and a sample with the intended garments.

 English
 German
 Arabic
 French
 Spanish
 Italian
 Russian
 Turkish
 Portuguese
 Japanese