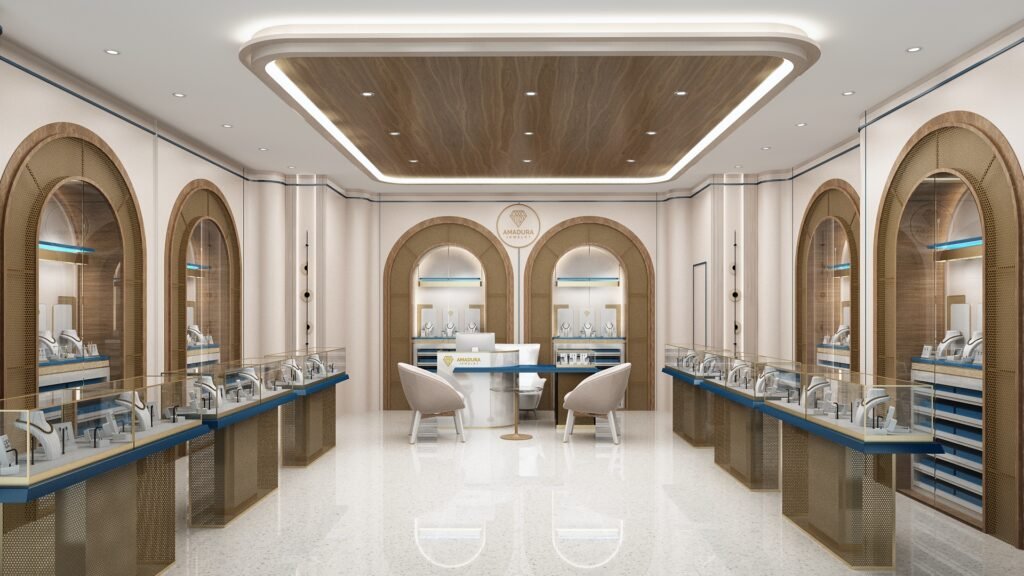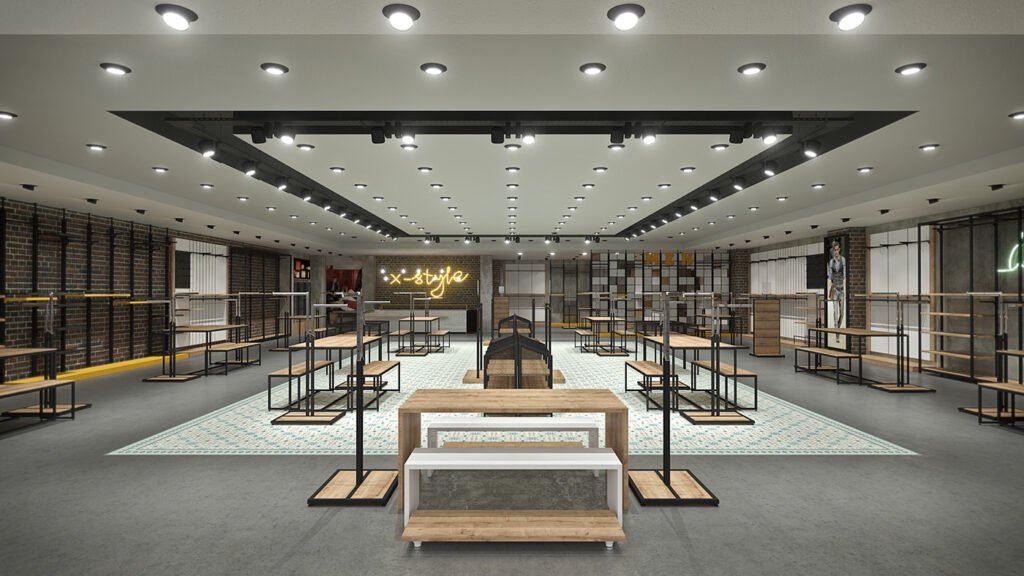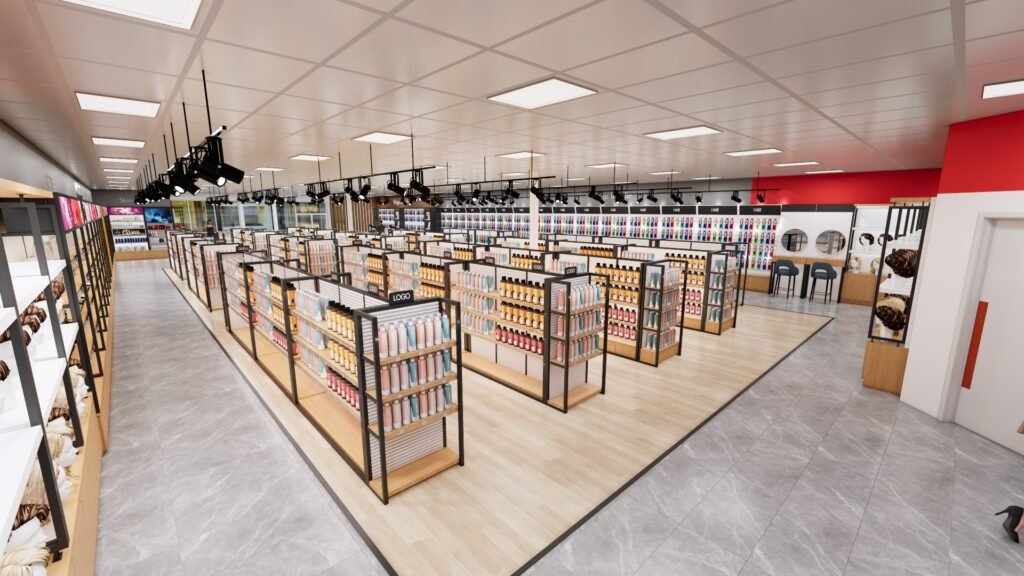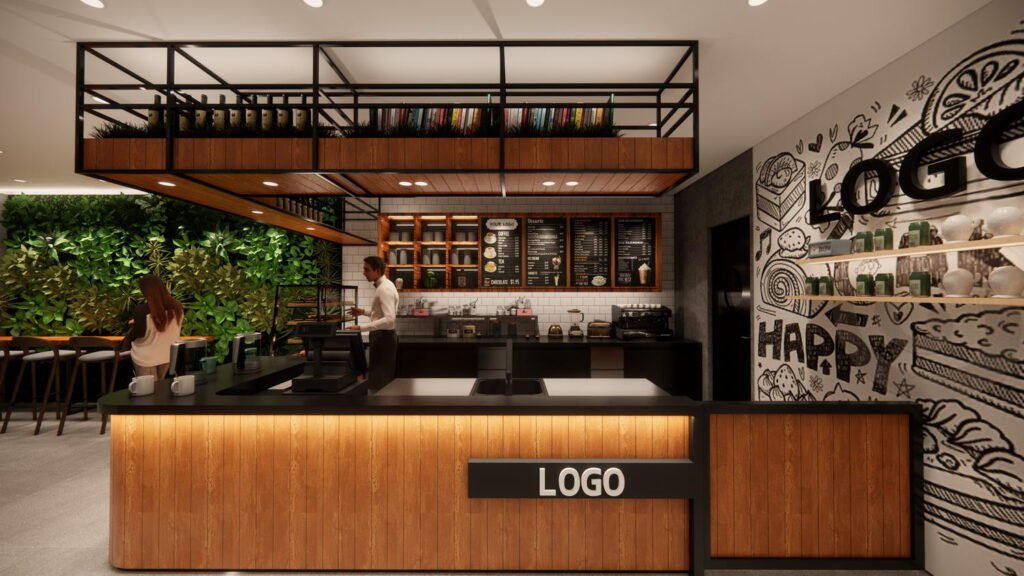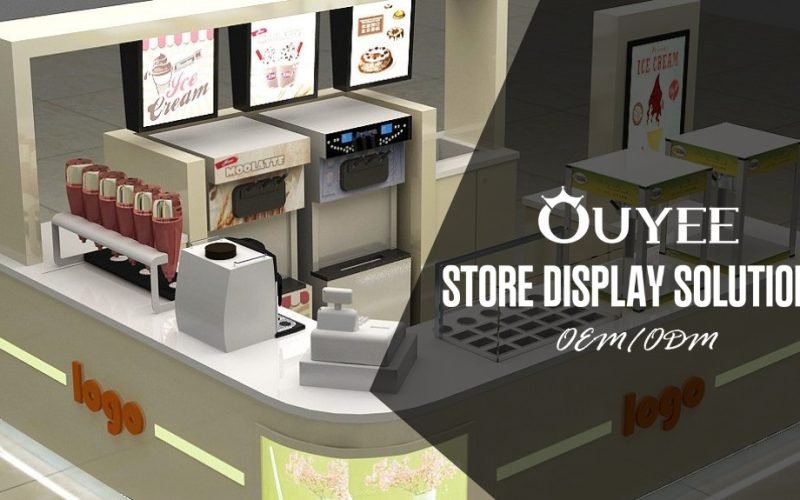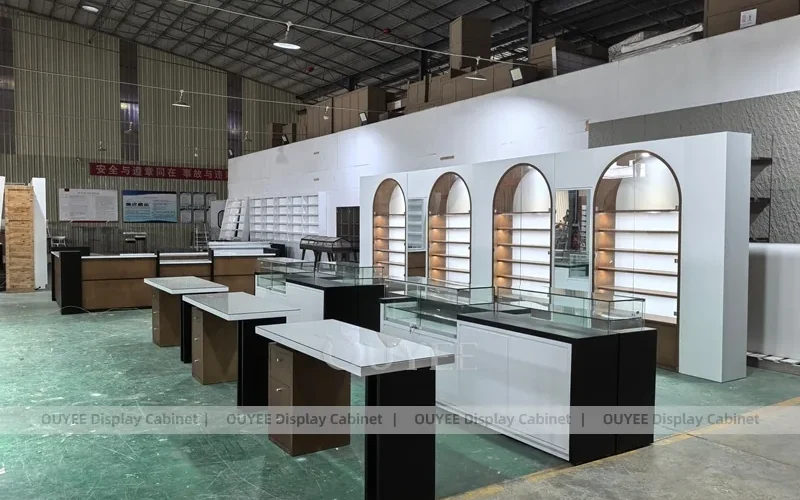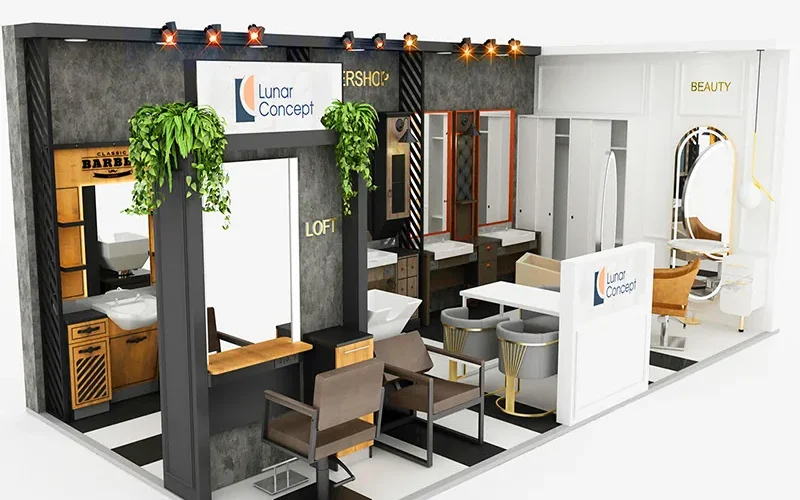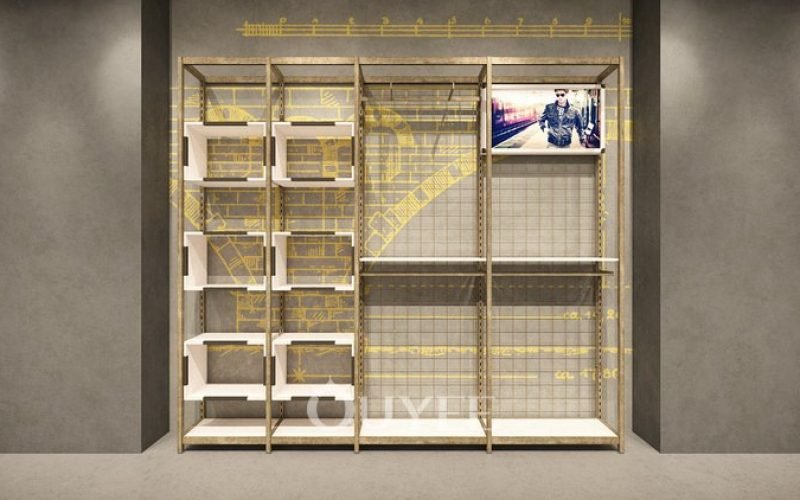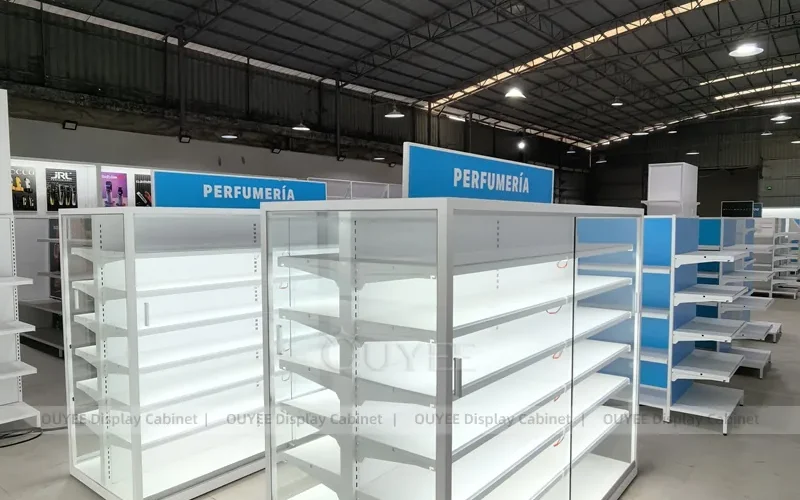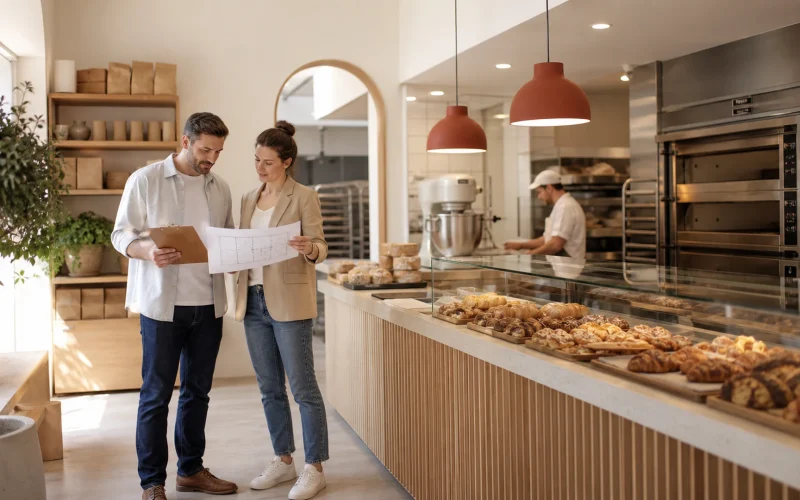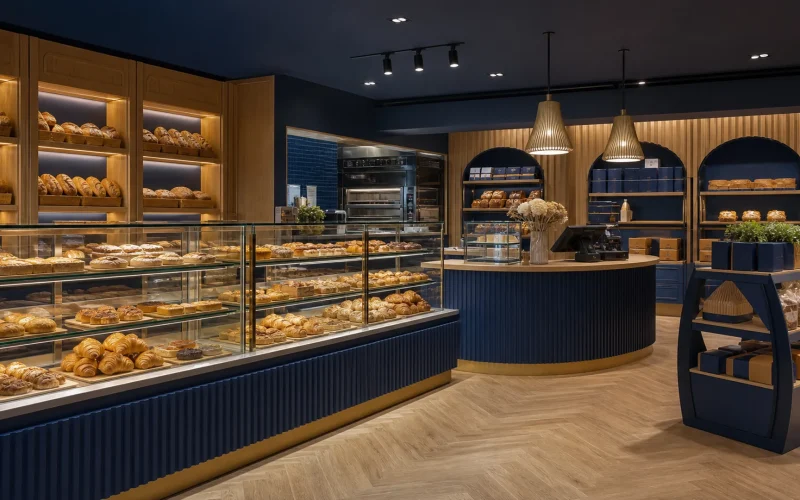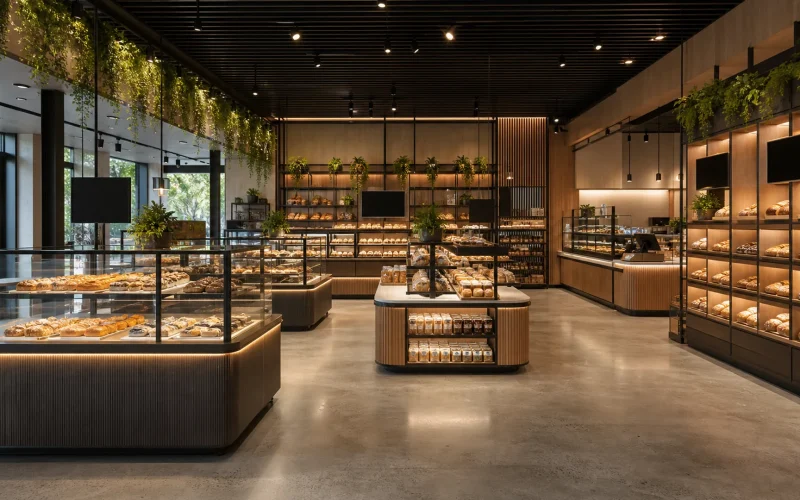
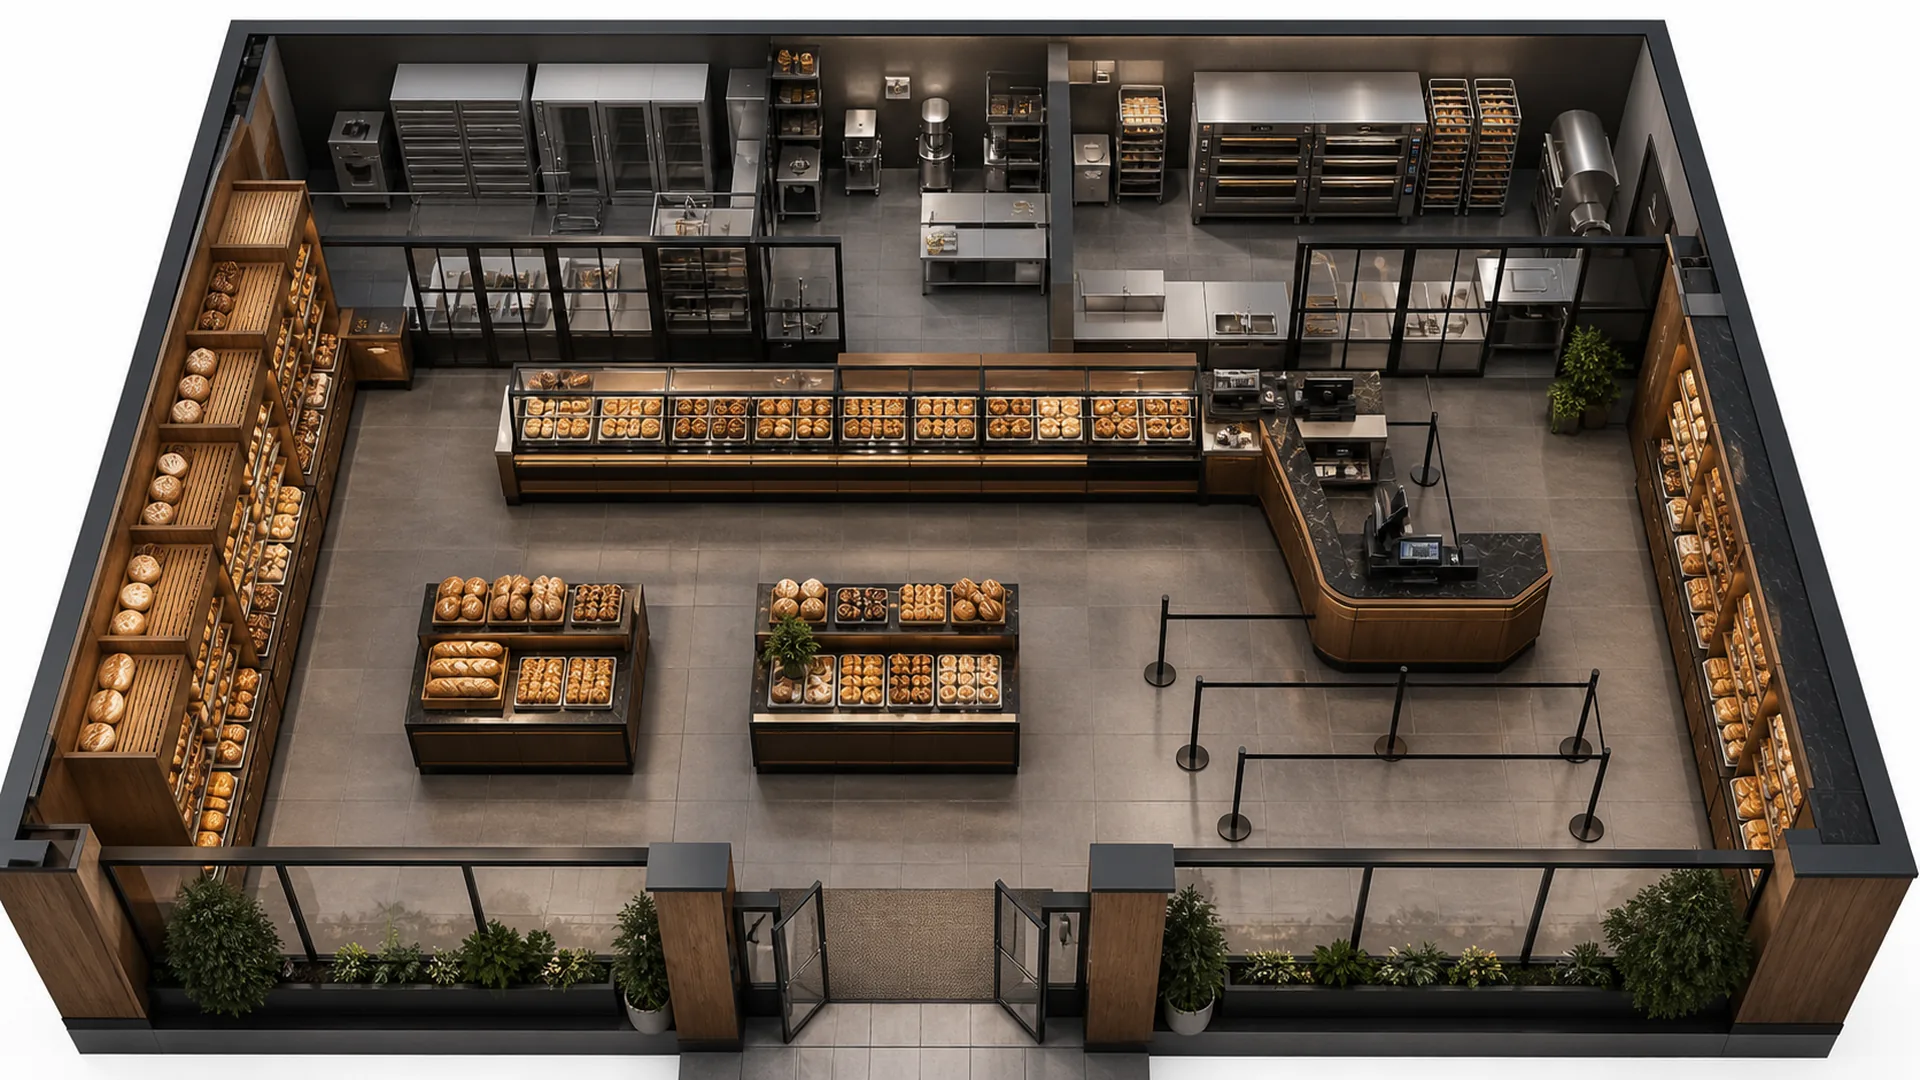
A bakery floor plan must coordinate two linked systems: production and retail. Dough, baked goods, packaging, staff, customers, waste, and deliveries should move without unnecessary crossings. The layout also needs enough space for Ouyee glass showcases, paneled counters, wall bread cabinets, display racks, islands, queues, and accessible circulation.
Use this guide with bakery design ideas, the bakery equipment list, and how to open a bakery.
Start with the operating model
List the menu, daily volume, production schedule, deliveries, storage, retail sales, seating, wholesale, pickup, and staffing by shift. A bread-focused takeaway shop has different space priorities from a cake studio, bakery café, wholesale plant, or mall kiosk.
Core zones in a bakery plan
- Receiving: inspection, weighing, and a route to storage.
- Dry, cold, and frozen storage: sized for delivery frequency and peak inventory.
- Preparation: scaling, mixing, sheeting, shaping, decorating, and ingredient staging.
- Proofing and baking: safe clearances, ventilation, loading, and rack movement.
- Cooling and finishing: separated from raw work and protected from traffic.
- Packaging and order staging: space for labels, boxes, online orders, and wholesale dispatch.
- Warewashing and sanitation: sinks, drying, chemical storage, and cleaning tools.
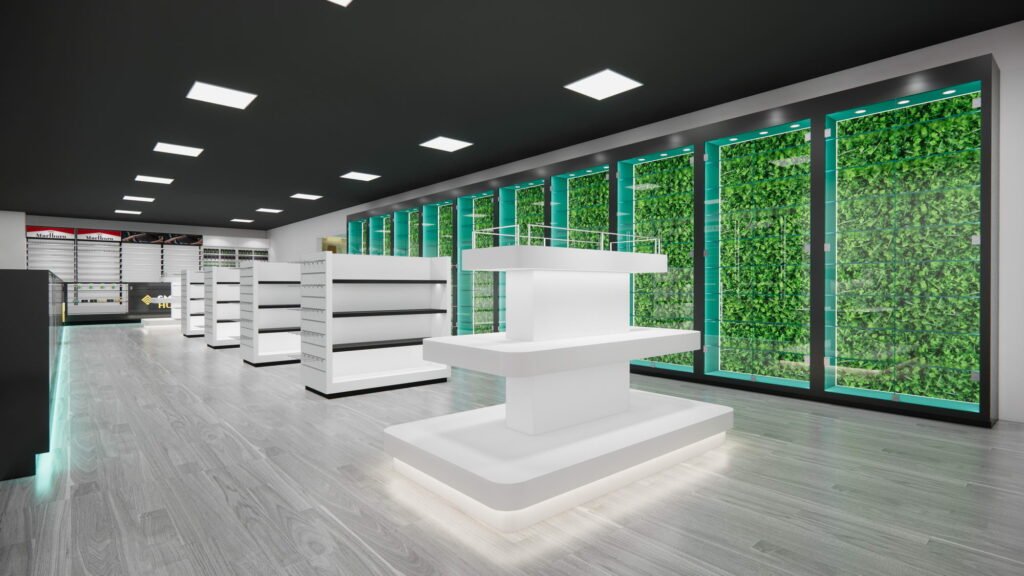
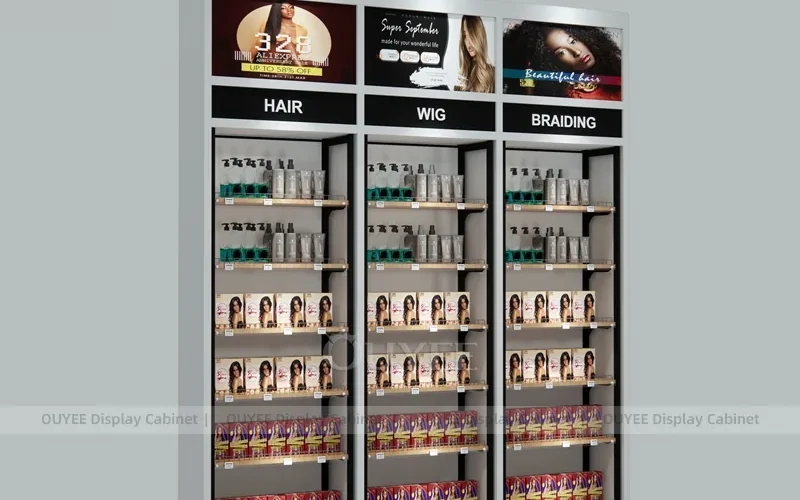
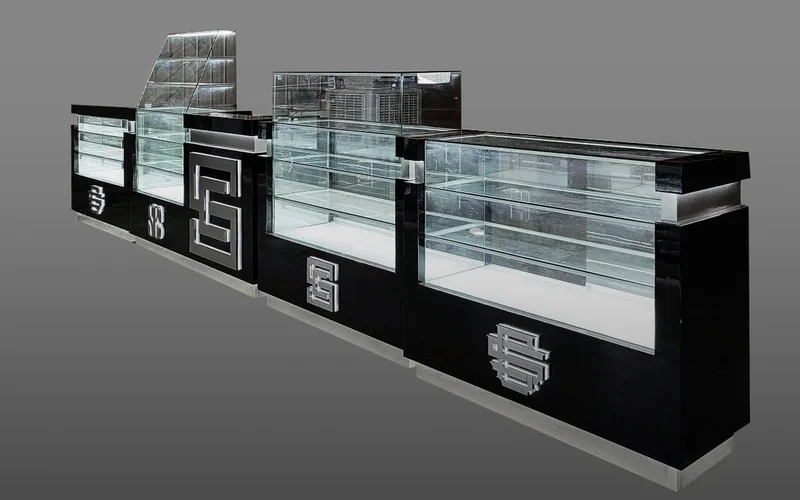
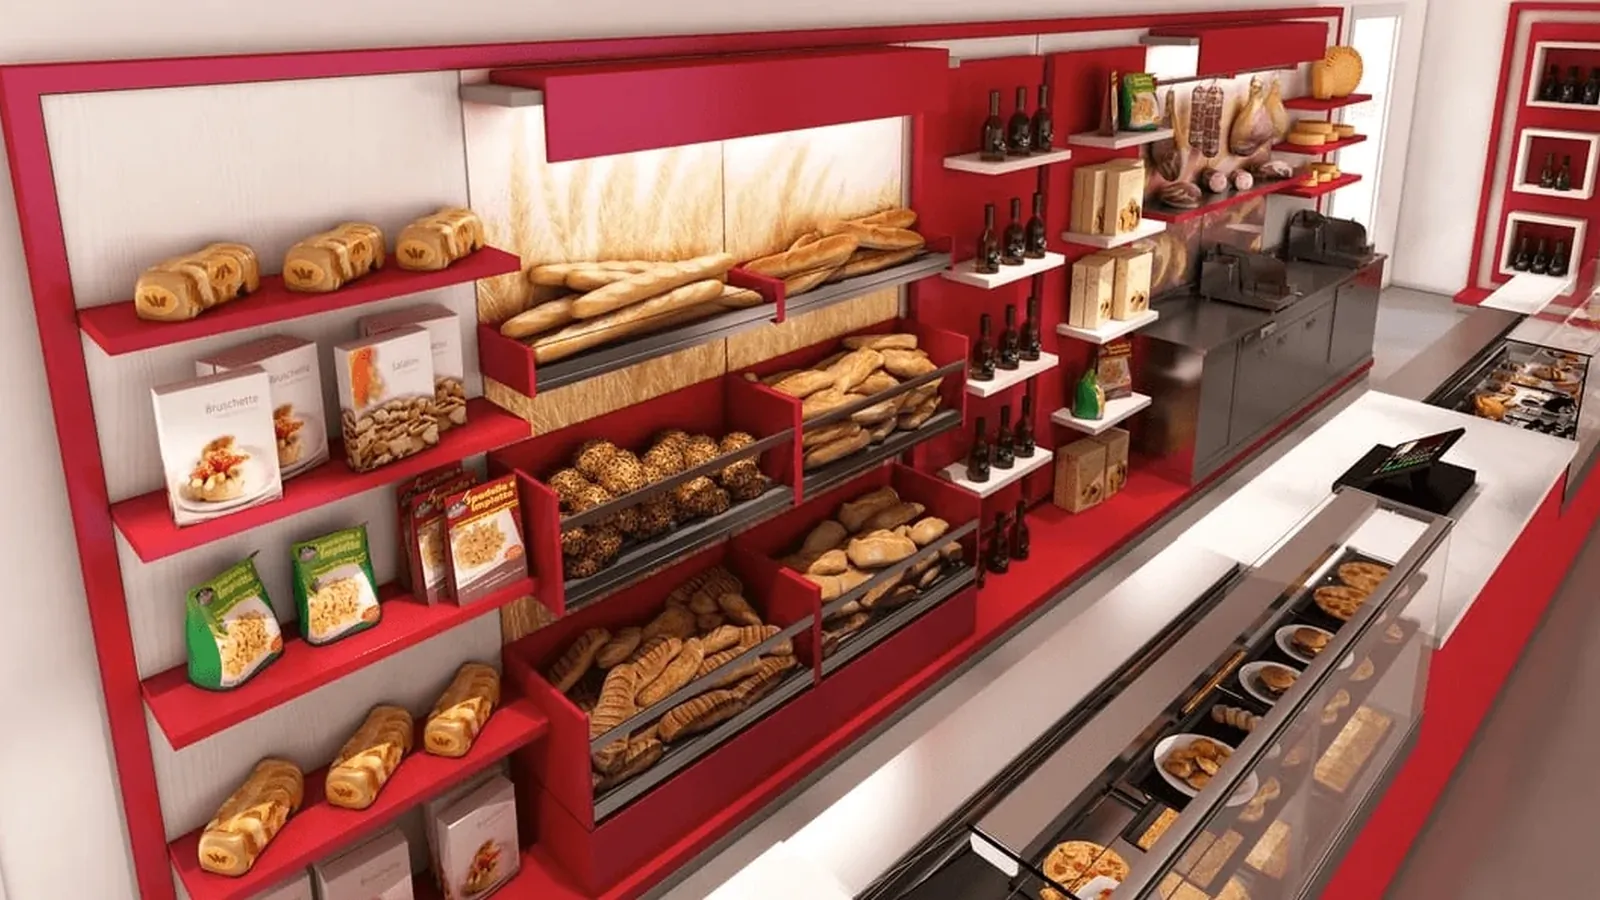
- Retail display: wall bread cabinets, glass cases, racks, and islands by product type.
- Service and payment: ordering, packaging, point of sale, and accessible service.
- Support: office, staff storage, toilets, refuse, mechanical, and utility access.
Map flows before placing fixtures
Draw separate paths for ingredients, finished goods, staff, customers, pickup orders, dirty dishes, and waste. Reduce backtracking and prevent raw materials, clean products, and refuse from crossing. Staff should replenish displays from the service side where possible.
Plan the customer journey
Create a short entrance pause that reveals signature displays. Lead customers past wall bread cabinets or a promotional island to the main glass showcase, then toward ordering and payment. Keep the queue from blocking the entrance, seating, merchandise, pickup, or exits.
Place high-consideration cakes where customers can stop without pressure. Put packaged add-ons between selection and payment. If advance orders are meaningful, give pickup a clearly separate counter position.
Choose the right front-of-house pattern
Linear plan
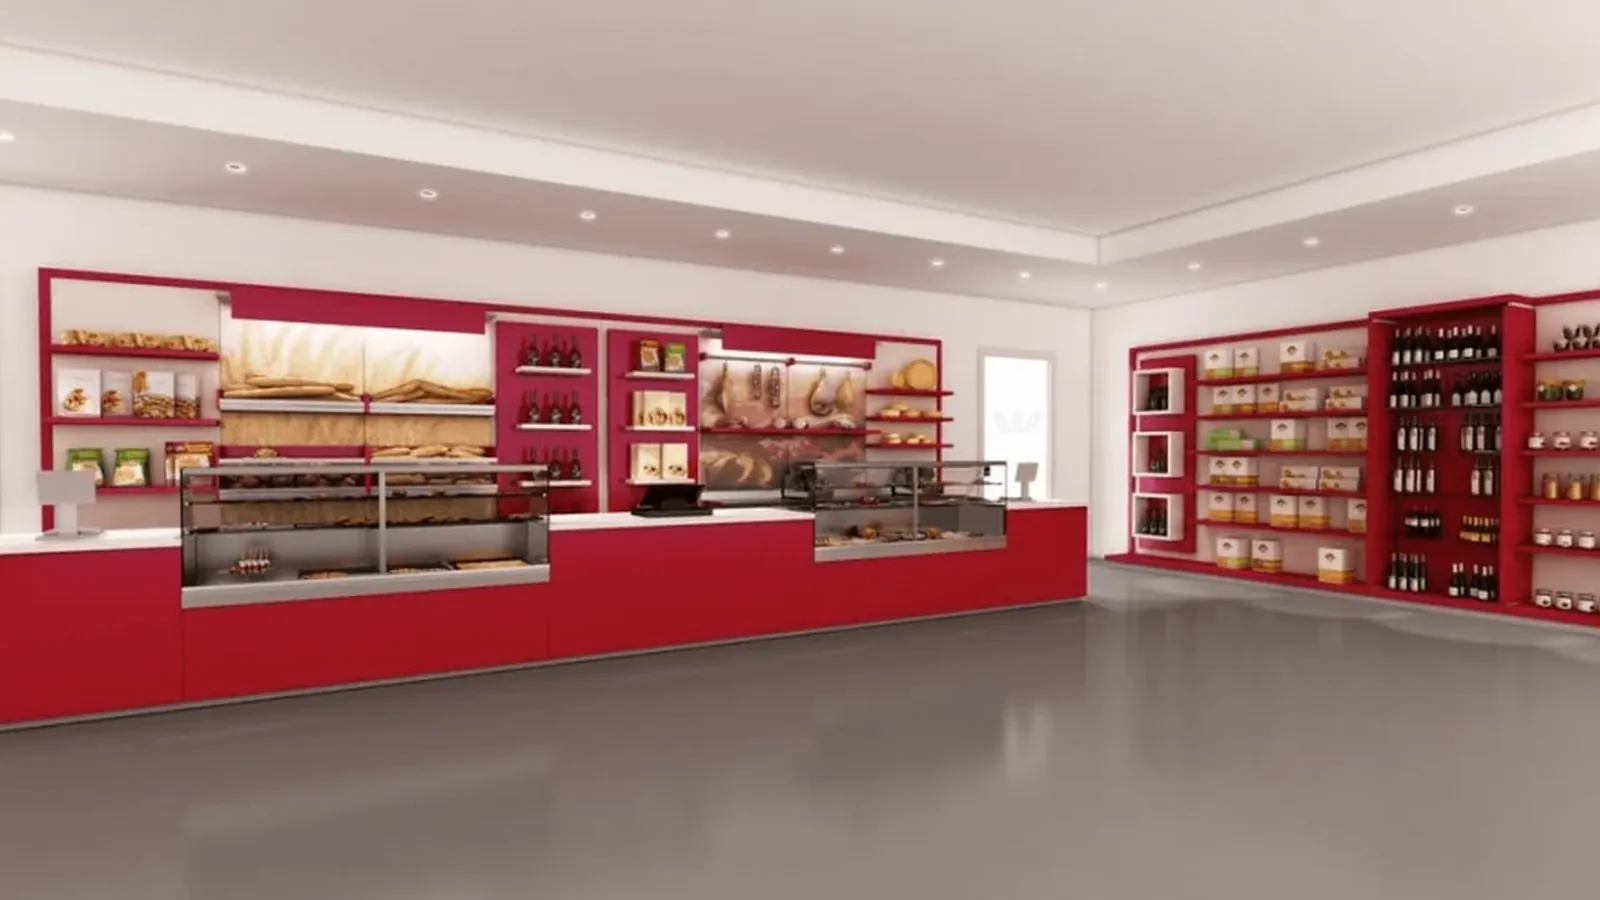
A wall display and parallel service counter suit narrow shops. It is clear and efficient but requires careful queue width.
L-shaped counter
One leg displays product and the other handles ordering or payment. It creates a strong focal corner and good staff control.
Loop plan
Wall cabinets and islands create a browsing circuit before payment. It supports packaged goods but needs more area and clear sightlines.
Central island plan
A low island organizes promotions while perimeter cases and wall cabinets carry the core range. Maintain generous circulation around every side.
Coordinate dimensions and accessibility
Verify all dimensions against local codes, equipment data, and the accessibility standard that applies to the project. Protect required aisle widths, turning spaces, door clearances, service counter height, seating access, egress, and working clearances. Do not use minimum dimensions as the sole design target; real trays, carts, queues, and open doors need room.
Coordinate utilities early
Mark electrical loads, panels, outlets, gas, water, drainage, hot water, exhaust, refrigeration ventilation, condensate, data, and lighting controls. Align them with ovens, proofers, mixers, sinks, refrigerators, glass cases, point of sale, and illuminated cabinetry. Concealed services should remain accessible for maintenance.
Plan retail fixtures as a system
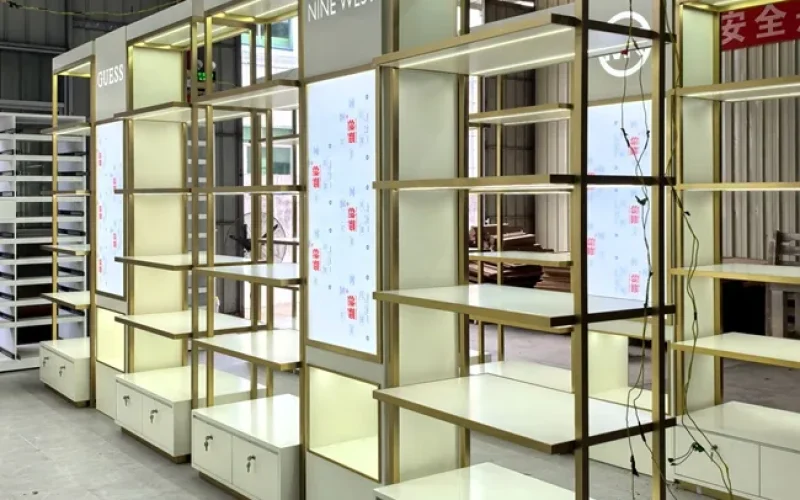
Use wall cabinets for vertical bread capacity, glass showcases for protected pastry and cake display, paneled counters for service and hidden storage, panel racks for flexible packaged goods, and islands for seasonal merchandising. Standardize depths and align module centers where possible. Ouyee shop drawings should be coordinated with architectural and MEP plans before fabrication.
Common floor-plan mistakes
- designing the retail area before confirming production volume;
- letting the queue block the primary case or entrance;
- no staging area for online and celebration orders;
- insufficient cooling, packaging, storage, or rack parking;
- equipment doors and staff paths colliding;
- custom cases finalized before utilities and approvals;
- poor cleaning and refrigeration service access;
- no allowance for future menu changes.
Frequently asked questions
How much space should front of house receive?
There is no universal ratio. Allocate space from the concept, sales channels, production method, seating, inventory, and expected peak queue rather than a generic percentage.
Where should the checkout be?
Usually after customers view the main offer, with good staff visibility and a queue that does not block product or exits.
When can fixture drawings start?
Start during schematic planning, then finalize after field dimensions, product loads, utilities, circulation, and approvals are coordinated.
Final takeaway
A successful bakery floor plan makes production, service, and shopping feel simple. Map flows first, protect access and maintenance, then coordinate Ouyee showcases, counters, wall cabinets, racks, and islands with the approved building systems.