A practical optical store display starts with the frame range and the tasks customers and staff perform: browsing, trying on frames, comparing styles, and receiving fitting or dispensing help. Measure the store, mark the customer route, and decide which frames belong on wall systems, islands, countertop fixtures, or in secured storage. Then send suppliers one shared schedule covering dimensions, materials, lighting, adjustment, delivery, and installation. This buyer’s guide helps compare a standard display system with a custom proposal using the details that affect everyday use.
For a broader range of optical fixture examples and planning materials, see the optical display fixtures download center. Use it as a reference while building a project-specific schedule.
Plan around how people browse and try on frames
Frame displays do more than hold inventory. They help customers see differences among shapes, brands, and collections while leaving room to handle frames and approach a mirror or staff member. List frame groups, the models that need front-facing visibility, products staff keep behind the counter, and the storage needed for replenishment.
Measure representative frames, cases, signage, and other items that will occupy the display. Frame sizes and packaging vary; suppliers should work from the retailer’s real assortment rather than an assumed standard footprint. Decide whether customers browse independently, whether certain frame groups require staff assistance, and where a fitting or consultation conversation will happen.
Choose the display format by its role
An optical store often combines perimeter display with central units. Each format needs a defined job and access method.
| Fixture format | Possible role | Details to settle before ordering |
|---|---|---|
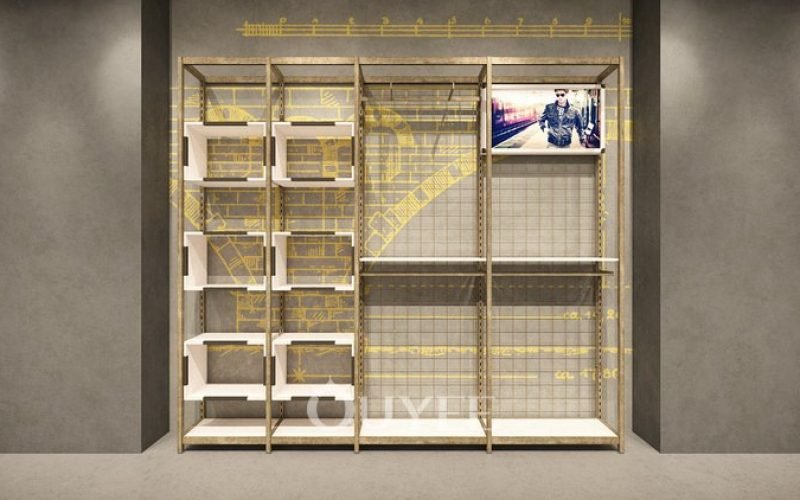
| Wall-mounted frame bays | Organizing multiple frame groups along the perimeter | Mounting method, spacing, panel or rail system, signage, and whether positions can change |
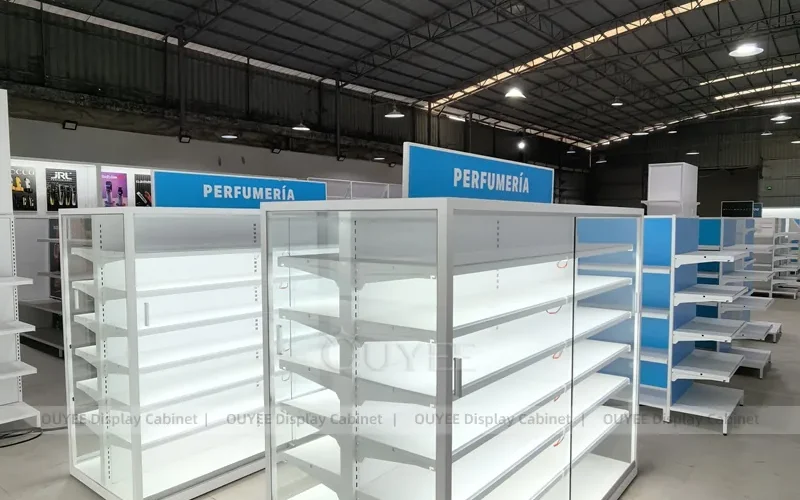
| Freestanding island or gondola | Presenting selected frames from more than one approach | Visibility across the store, access from each side, stability, and replenishment |
| Countertop risers or trays | Highlighting a limited collection near service or consultation | Available work surface, cleaning, security, and how trays can be rearranged |
| Glazed or lockable case | Showing selected frames with staff-controlled access | Locking method, door swing, staff access, reflections, and cleaning routine |
| Consultation or dispensing counter | Supporting staff conversation, adjustment, or customer handoff | Clear work surface, storage, customer approach, wiring, and task lighting if used |
Measure the floor plan, frame access, and service points
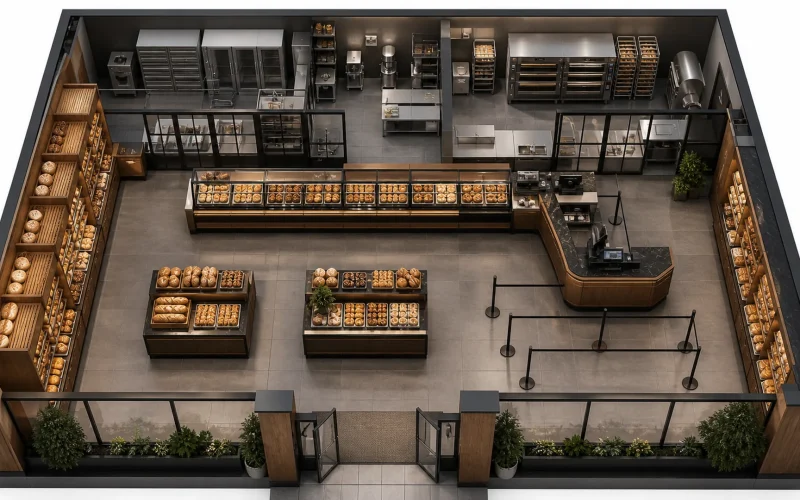
Prepare a plan showing walls, columns, doors, glazing, reception, consultation areas, mirrors, storage, and power points. Add the intended frame bays and islands, then trace the customer route from entry to browsing, try-on, consultation, and checkout. Mark how staff restock, lock or unlock displays, and move between service areas.
In a U.S. project, the U.S. Access Board guide explains clear floor space at accessible elements and when extra maneuvering space may be needed. The applicable dimensions depend on the element and approach, so confirm current requirements with the project team. OSHA guidance for covered workplaces requires exit routes to remain free and unobstructed. Those are constraints for the design team to confirm; they are not a substitute for a site-specific review.
Test the layout with real frames and a store task. Imagine one customer browsing a frame bay while another approaches an island, a staff member retrieves stock, and a fitting conversation takes place nearby. A plan that shows only furniture footprints can miss door swings, queues, chair movement, and access to the back of a shelf.
Specify materials, lighting, and adjustment clearly
For each unit, record outside dimensions, usable display dimensions, material and finish, frame support method, locking hardware if required, graphics, lighting, wiring, and attachment details. Ask suppliers for stated shelf or rail capacity for the exact configuration and how it was determined. Do not infer capacity from appearance or compare supplier claims without understanding their conditions.
If lighting is included, specify what should be illuminated, where the power supply sits, how wires are routed, and who handles installation and service. Review a physical finish sample in lighting similar to the optical shop. Light can change how frame colors and surfaces appear; approve the material before production.
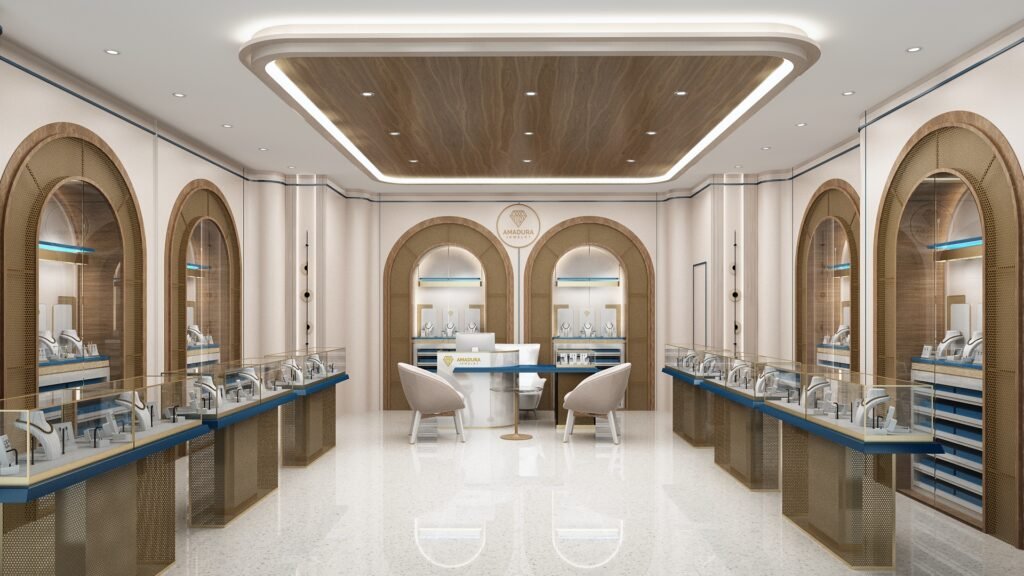
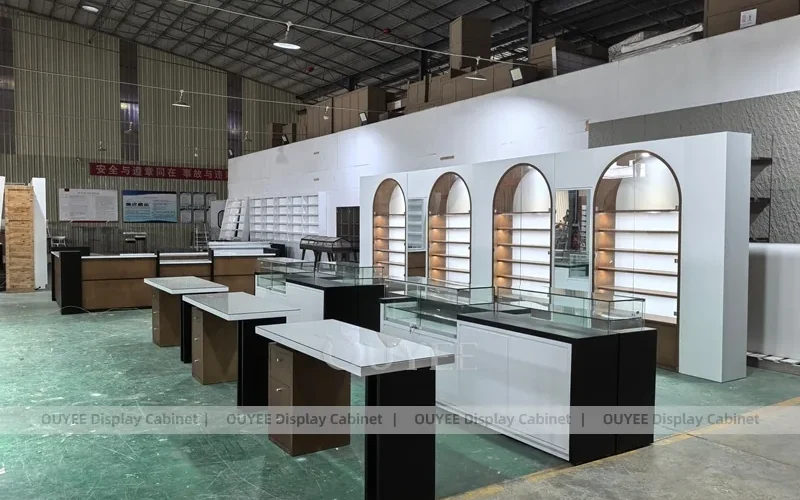
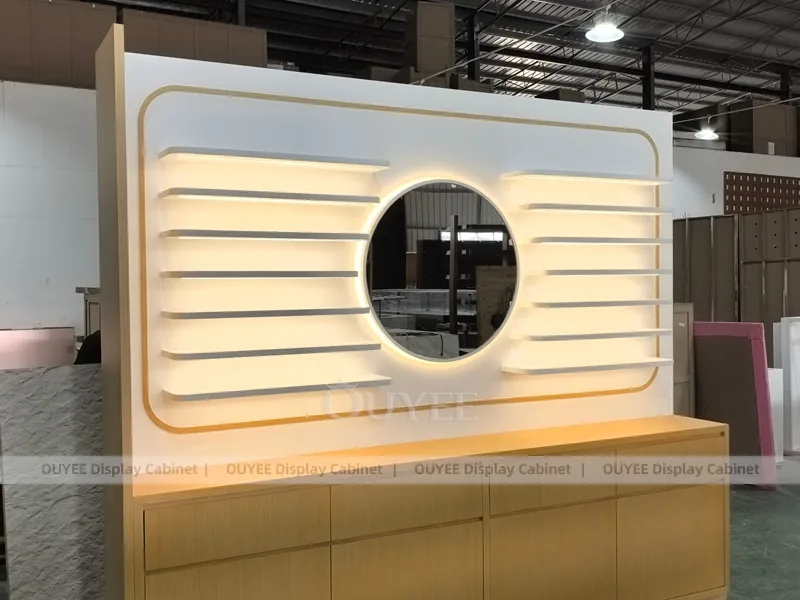
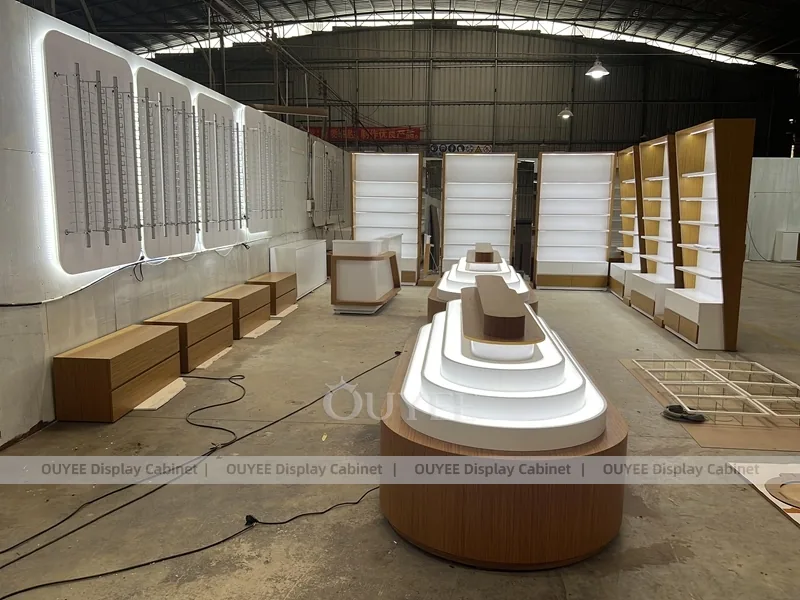
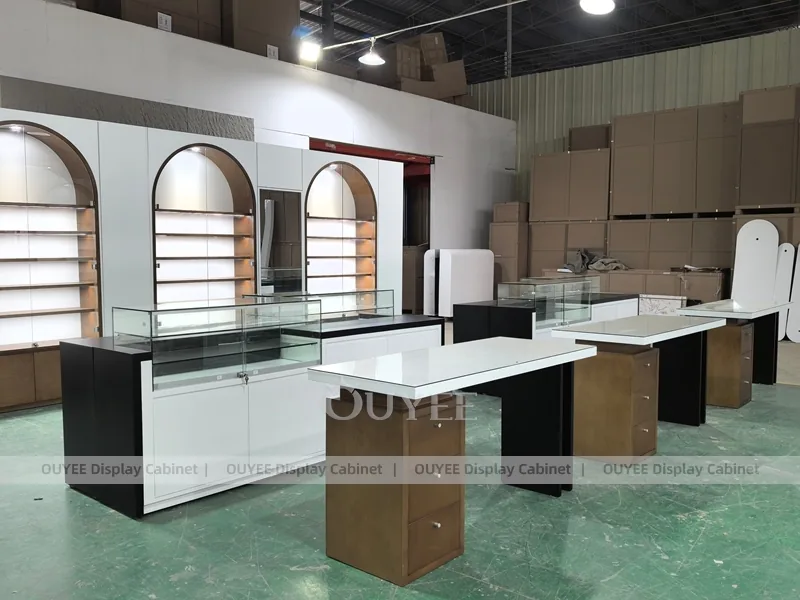
For examples of different optical formats, review the arched wall display with island tables, a cream wall display with mirror and drawer storage, and the optical interior with curved counters and wall displays. These pages show actual product examples, not a substitute for measuring and approving the exact project specification.
Prepare a request for quote suppliers can compare
Send each supplier the same plan, frame schedule, finish brief, service requirements, and delivery assumptions. Request a line-item proposal identifying each fixture, dimensions, materials, hardware, lighting, graphics, packaging, shipping, installation, exclusions, and approval milestones. Ask bidders to label standard components, modified components, and project-specific work.
| Quote area | Evidence to request | Decision question |
|---|---|---|
| Layout | Dimensioned plan, elevations, fixture schedule | Does each unit fit the room, frame range, and customer route? |
| Construction | Materials, finish, hardware, support method, stated capacity | Is the proposed build clear enough to approve and maintain? |
| Daily operation | Adjustment, locking, cleaning, replenishment, replacement parts | Can staff perform normal tasks without moving unrelated fixtures? |
| Delivery | Packing, shipping, assembly, installation, site assumptions | Are suppliers pricing the same delivered scope? |
When appearance or fit is critical, request a physical finish sample or first-unit review. Agree what will be checked: dimensions, frame supports, finish, mirror placement, service access, and assembly. For multiple stores, specify what must remain consistent and what may vary by location.
Ask suppliers to show fixture cost separately from graphics, lighting, packing, freight, and installation. Record lead-time assumptions and any site work the retailer must arrange. If frames or accessories are supplied by the retailer, state when they will be available for a fit check and who is responsible for any changes if the actual products differ from the schedule. Keeping these assumptions visible makes the preferred proposal easier to approve and reduces surprises during rollout.
Plan for assortment changes and fixture resets
Optical assortments change as collections, brands, and seasonal selections change. Ask suppliers which rails, shelves, hooks, trays, or signage can be replaced or repositioned without rebuilding the whole unit. Identify any frame groups that need dedicated displays and which components should remain flexible for future ranges.
Before the order is approved, have the optical team test the proposed schedule against its actual tasks. Ask staff to walk through a frame reset: removing a group, cleaning the display, replacing a support, changing signage, and returning stock to the correct zone. Record who performs each step and whether tools or keys are needed. This simple review can reveal maintenance and training issues that are easy to miss in a rendering.
For stores with more than one location, decide which details are standardized—such as finish, labeling, and support type—and which depend on each floor plan. Keep a master parts list, approved samples, and drawings so replacement bays can match existing fixtures. If the store plans to move or expand, ask whether units can be reconfigured and what new hardware would be required. These questions help distinguish a modular proposal that will remain useful from one that only appears flexible in the catalog.
Common optical fixture buying mistakes
- Choosing a display from a photograph before measuring the store and representative frames.
- Using one fixture format for browsing, try-on, staff storage, and consultation without defining each task.
- Forgetting the movement needed to open doors, restock frames, or reach a mirror.
- Approving lighting or finish from a screen without reviewing a physical sample.
- Comparing quotes with different assumptions for packing, wiring, installation, or replacement parts.
- Leaving future assortment changes out of the brief.
For broader visual direction, see the optical store design ideas, then use the download center and a measured plan to define the order.
A short accessibility reference for display placement
The U.S. Access Board’s Wheelchair Maneuvering demonstration covers clearances and reach considerations that can affect how customers approach wall frames, islands, and counters. Use it as an educational reference alongside the written standards and local project review.
Watch Wheelchair Maneuvering from the U.S. Access Board on YouTube.
Frequently asked questions
What fixtures are common in an optical store?
Retailers may use wall-mounted frame bays, islands or gondolas, countertop risers, lockable cases, and consultation counters. Choose the combination based on the frame range, staff tasks, store dimensions, and how customers browse.
How should I plan an optical frame wall?
Measure the wall, representative frames, signage, and support system. Group frames in a way customers and staff can understand, decide which positions are adjustable, and confirm how the wall attaches and how stock is replenished.
Should optical displays be open or secured?
That is a retailer policy and operating choice. Identify which frames customers may handle independently, which items require staff access, and how locks or cases will be used before suppliers produce final drawings.
What should I ask suppliers before approving an optical display?
Request a dimensioned plan and elevations, materials and finish, frame support details, supplier-stated capacity, lighting and wiring scope, installation assumptions, cleaning instructions, replacement parts, and a sample or first-unit approval step.
How can I tell whether an optical wall system is adjustable?
Ask the supplier to identify the positions that can change, the parts that are compatible, the tools or hardware required, and how replacements are ordered. Request the adjustment details on the drawing instead of relying on a general “modular” description.