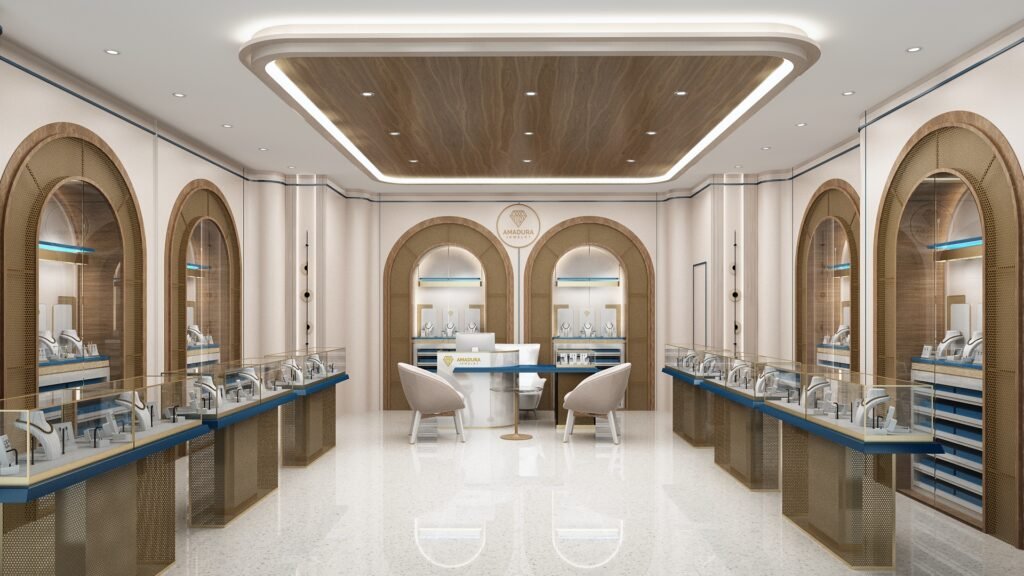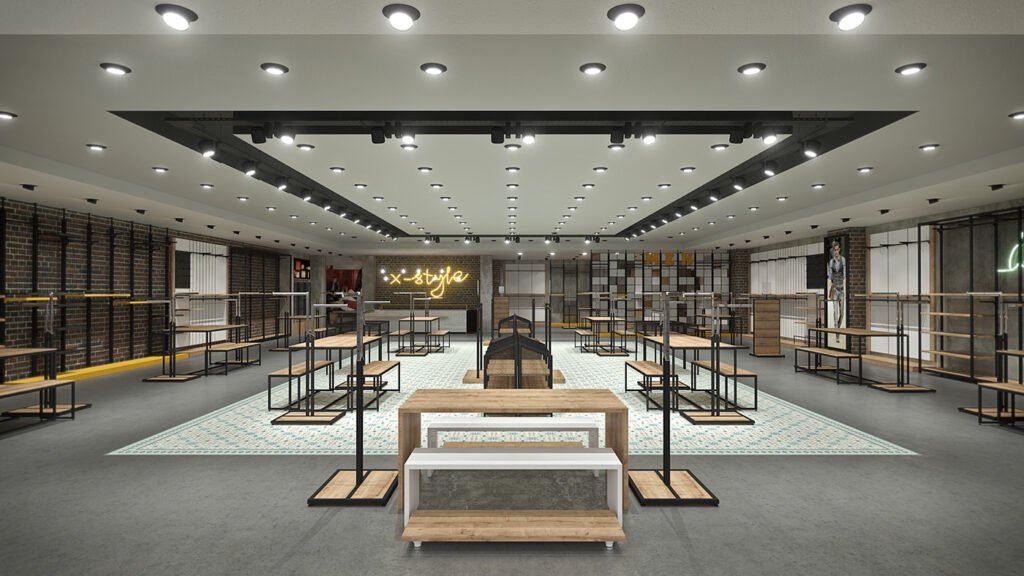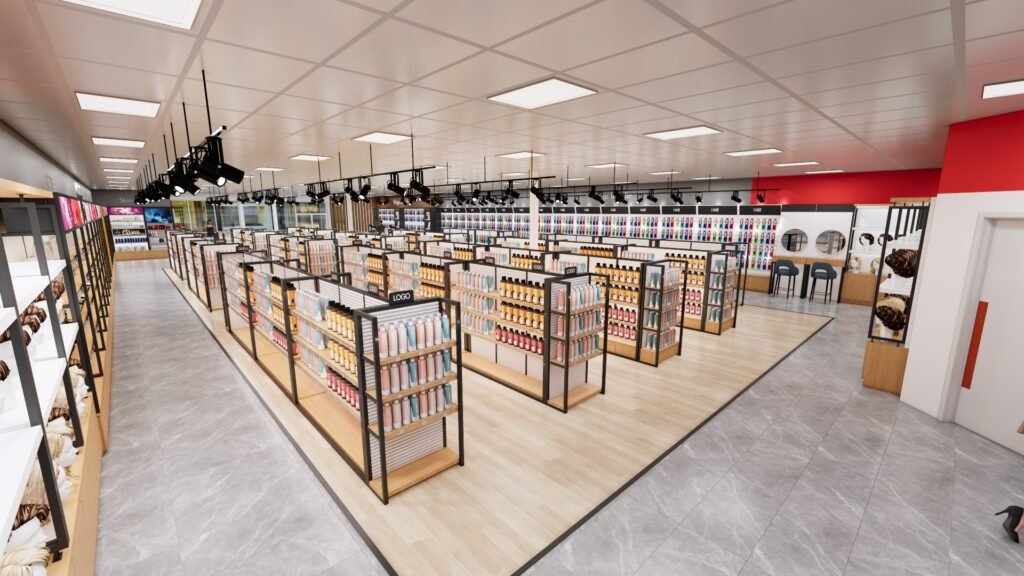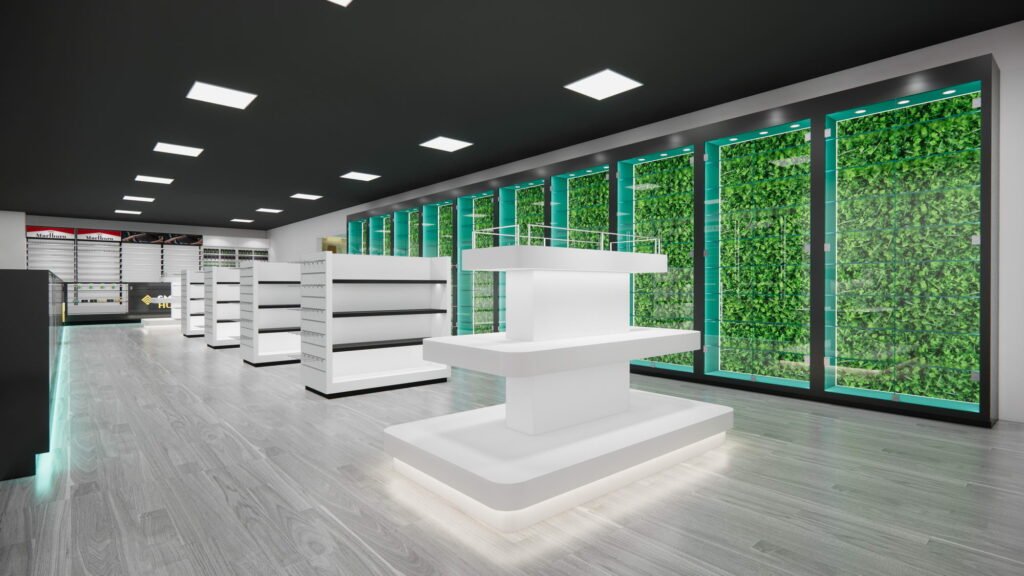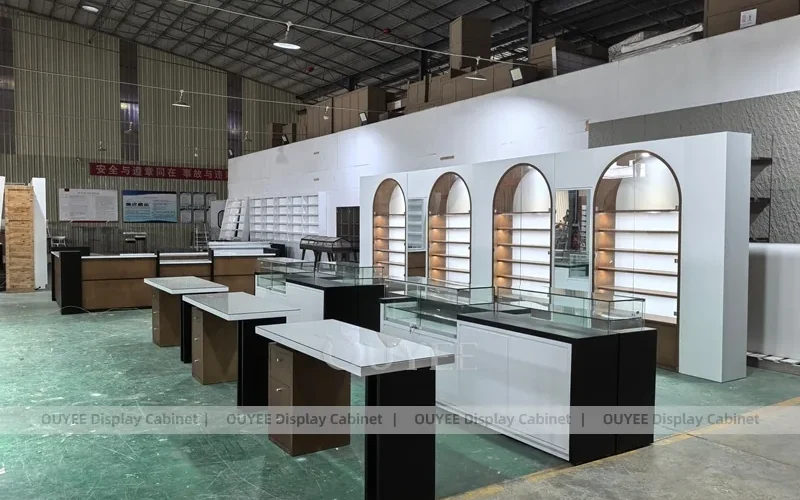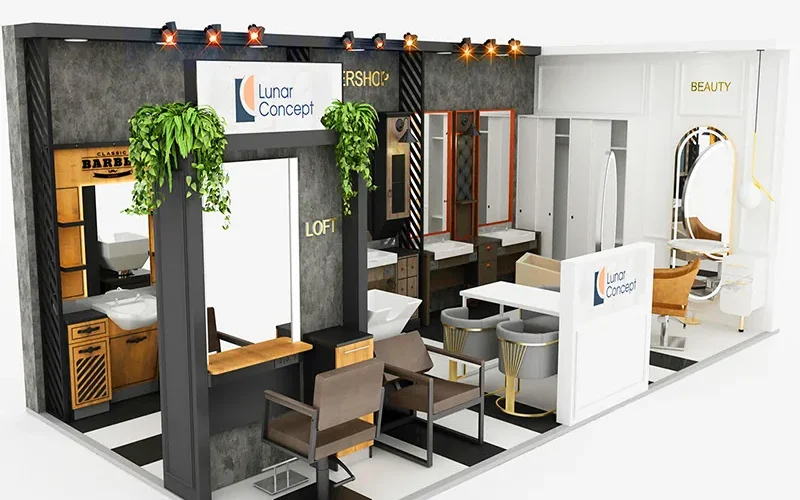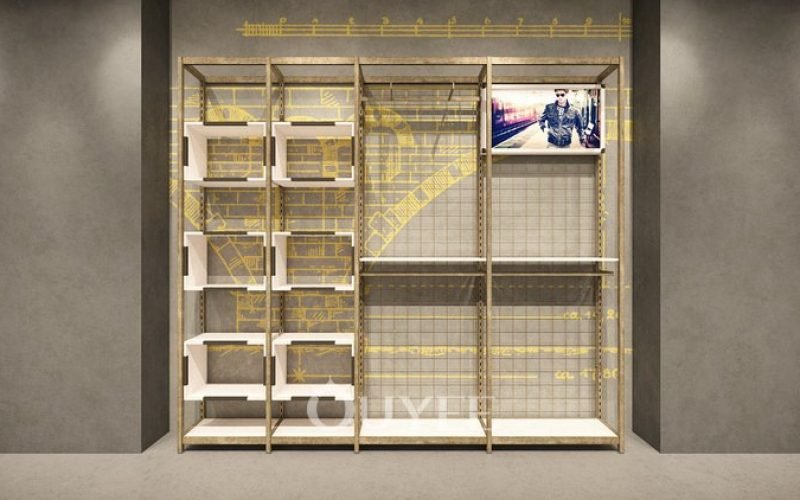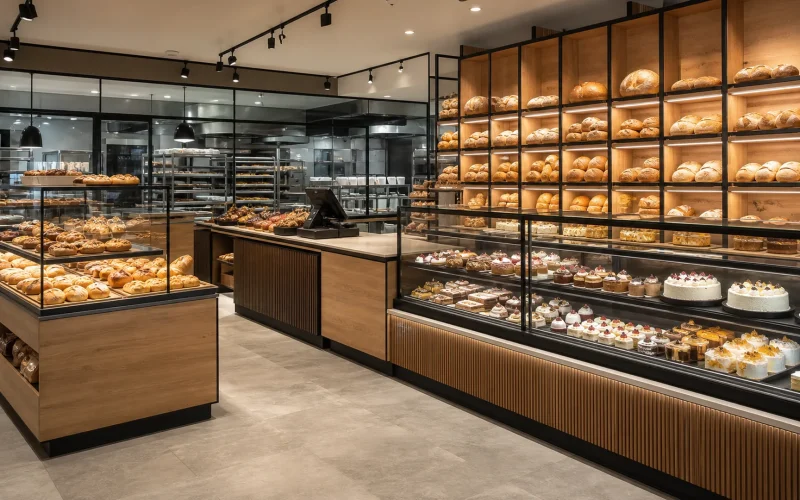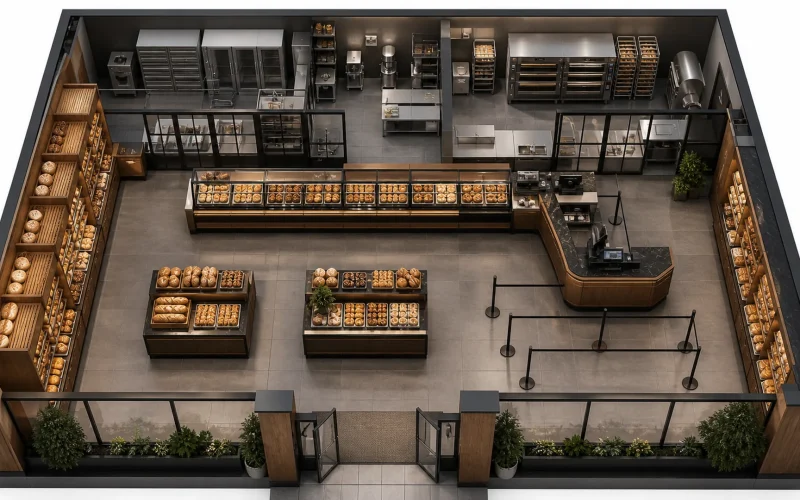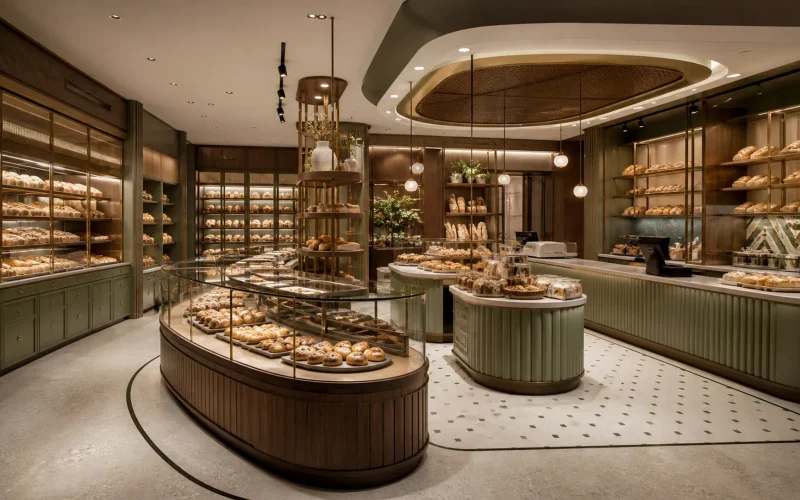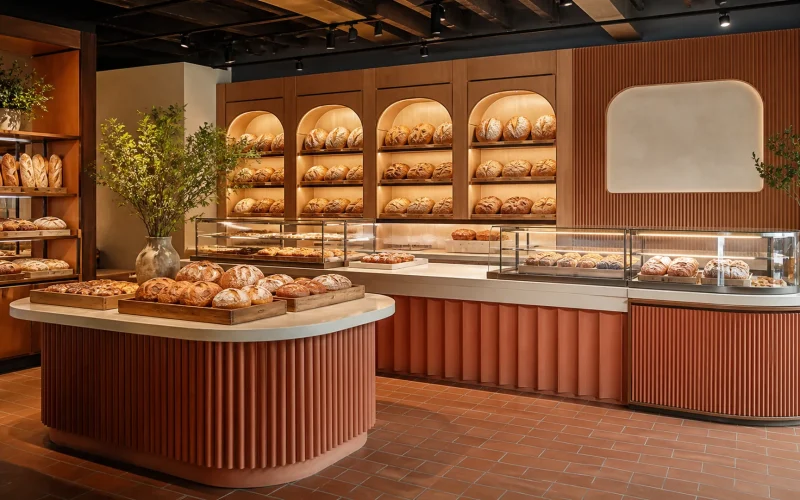
A useful clothing store fixtures buyer guide starts with the merchandise and the way shoppers move through the store, then turns those needs into a comparable supplier brief. List the garment types, sizes, display tasks, floor constraints, and reset frequency before choosing racks, wall systems, tables, or custom units. Ask each supplier to quote the same drawing, finish, hardware, and delivery scope. That makes it easier to compare a modular setup with a custom one without buying fixtures that look right in a catalog but fail in daily merchandising.
This guide focuses on planning and purchasing. For a broader overview of apparel displays and fixture roles, see our practical guide to apparel displays and clothing showcases.
Start with what the fixtures must do
Write down the jobs the fixture package has to perform. A wall bay may carry folded denim and folded knitwear; a double rail may present a large size run; a face-out arm may show one outfit; a table may group folded basics or a seasonal collection. One unit rarely handles every task equally well. Separating the jobs helps you decide which pieces can be standard and which deserve a custom dimension or finish.
Make a short merchandise brief before requesting prices. Include the product mix, the approximate number of styles and sizes you expect to show at one time, the pieces that need to be viewed from the front, and any accessories that will sit beside apparel. Use actual garments and packaging where possible. A supplier should not have to guess whether your priority is hanging capacity, a clear view of feature pieces, folded-product presentation, or a mix of all three.
Measure the store before choosing a fixture family
Record the usable floor area, wall lengths, columns, doors, windows, power locations, ceiling features, and fixed checkout or fitting-room positions. Mark the path a shopper is expected to follow and the places where staff need to replenish stock. A floor plan with dimensions is more useful than a collection of room photos because it lets a designer test the proposed units against real constraints.
In a United States project, the ADA Standards include requirements for accessible routes and clear floor space at accessible elements. The U.S. Access Board guide explains that the minimum clear floor space is 30 by 48 inches, with additional requirements in some obstructed conditions. The exact application depends on the element and approach, so have the project team check the applicable standard and local requirements before approving a layout. OSHA guidance also says exit routes must be free and unobstructed in covered workplaces. These rules are not merchandising targets: they are constraints to verify with the responsible design or safety professional.
Use a plan to check real movement, not just the fixture footprint. A rack that fits on paper can still create awkward turns when garments extend beyond the base, when customers gather around a table, or when a fitting-room queue forms. Include the open door swing, pull-out drawers, stockroom access, and the space needed to remove a unit during installation.
Match fixture types to the merchandise
Choose fixture types by display job rather than by the number of styles in a supplier catalog. The table below is a starting point; the best package depends on your assortment, room, and operating routine.
| Fixture type | Useful for | Questions to settle before ordering |
|---|---|---|
| Wall-mounted rails and shelves | Using wall zones for coordinated hanging and folded product | Where are the supports fixed? Can the shelf and rail positions change? How will the system end at doors or corners? |
| Single or double garment racks | Showing size runs, grouped categories, or replenishment stock | Will customers see garments from the aisle? Are the rail height and rack length right for the pieces displayed? |
| Face-out arms | Giving selected garments a front-facing presentation | How many pieces should be shown? Can the arm be moved without tools? Does it suit the planned wall system? |
| Display tables and nesting units | Folded items, launch stories, and low-level feature groupings | Can staff reach all sides? Will the surface tolerate the intended cleaning routine? |
| Mannequins and forms | Showing fit, layering, and outfit combinations | Can staff dress and move the form safely? Where will it sit without narrowing the route? |
| Lockable or glazed cases | Small, high-value accessories displayed with apparel | Who needs access, how are products replenished, and how will reflections or fingerprints be managed? |
Think in fixture families. A wall system, a compatible rail, and a small number of feature tables can create a coherent store while still allowing staff to change presentations. If you are comparing a modular system with a bespoke unit, look at the full package rather than one attractive hero fixture.


Decide where standard fixtures end and custom work begins
Standard or modular units are often practical when sizes are predictable, the layout changes frequently, or replacement parts matter. Custom fixtures can be appropriate when a nonstandard wall, a specific brand finish, a special product presentation, or a coordinated multi-store rollout must be addressed. Custom does not automatically mean better; it adds drawing, sample, approval, and coordination work that should solve a named problem.
Ask the supplier to mark which parts are standard, which are modified, and which are made for the project. Confirm whether dimensions are finished outside dimensions or usable display dimensions. If a supplier proposes a special finish, request a physical sample and agree how color and sheen will be approved. Our related guide to materials commonly used for clothing displays can help you prepare questions about substrates and finishes.
For boutique projects, compare a complete custom clothing rack and shelving system against separate stock components. Review the wall attachment, end conditions, accessory hooks, adjustment method, and replacement-part plan—not only the finish shown in a rendering.
Specify the details that make a quote comparable
Give every bidder the same information. A quote that omits installation or uses a different material cannot be compared fairly with a complete proposal. Ask for a drawing and a line-item schedule that identify each unit, its dimensions, material or finish, hardware, lighting if included, packaging, shipping, installation, and exclusions.
- Dimensions: overall size, usable shelf or rail length, clear openings, height, and the measurement convention.
- Construction: named substrate and finish, edge treatment, exposed hardware, glass or acrylic type where used, and how the unit connects to adjacent fixtures.
- Performance: supplier-stated shelf or rail capacity, how it was determined, the intended loading condition, and any anchoring or anti-tip instruction. Do not assume two suppliers use the same rating method.
- Adjustability: the positions staff can change, the tools needed, and which accessories fit the system.
- Lighting and electrical: which components are included, where power enters, how wires are concealed, and what installation or service is excluded.
- Delivery and installation: packing method, number of packages, assembly responsibility, site access assumptions, and how damaged parts are reported.
- Aftercare: cleaning instructions, replacement part availability, warranty terms, and the process for ordering matching units later.
Request a finish sample, a full-size mock-up, or a first-article review when color, fit, or assembly is a material risk. Agree in writing what will be checked: dimensions, finish, hole positions, compatibility with garments, and how the fixture looks under the store’s actual lighting. This is more useful than approving a rendering alone.
Compare suppliers on the same scorecard
Score proposals against the same criteria rather than relying on the lowest headline price. Include design fit, construction clarity, sample quality, packing and shipping scope, installation responsibility, and the supplier’s response to open questions. A short, specific scorecard helps a team explain why one quote is preferred and what needs to be resolved before deposit or production approval.
| Review item | Evidence to request | Decision question |
|---|---|---|
| Layout fit | Dimensioned plan and elevations | Do the units fit the measured room and merchandise zones? |
| Construction | Materials, finishes, hardware, and supplier-stated capacity | Is the proposed construction clear enough to approve and maintain? |
| Visual approval | Physical material sample or agreed prototype | Does the finish work with store lighting and nearby materials? |
| Scope | Line-item quote, exclusions, packing, and installation notes | Are bidders pricing the same deliverables? |
| Operations | Adjustment, cleaning, replacement, and service instructions | Can store staff use and maintain the fixtures as intended? |
Common purchasing mistakes
- Choosing by a product photo before measuring the store or reviewing a dimensioned plan.
- Ordering one fixture style for every garment, even when the assortment needs hanging, folded, and front-facing displays.
- Approving a custom color from a screen without a physical sample.
- Comparing an incomplete quote with one that includes packing, delivery, and installation.
- Accepting an unlabeled load rating or assuming a shelf can hold a load simply because it looks sturdy.
- Leaving replenishment, cleaning, spare parts, or later expansion out of the brief.
A well-planned package should make merchandising changes possible while keeping purchasing, installation, and maintenance understandable. If your store is still in the concept stage, our clothing store design examples may help the team discuss visual direction; use a measured plan and written specification to turn that direction into a quote.
A short accessibility reference for fixture placement
The U.S. Access Board’s Wheelchair Maneuvering demonstration covers clearances, floor surfaces, and reach ranges that can affect where merchandise fixtures sit. Use it as an educational reference alongside written standards and local project review.
Watch Wheelchair Maneuvering from the U.S. Access Board on YouTube.
Frequently asked questions
What should I include in a clothing store fixture request for quote?
Include a dimensioned floor plan, elevations, product and fixture schedule, intended use for each unit, requested materials and finishes, adjustment needs, lighting scope if applicable, delivery and installation responsibilities, and the supplier’s stated capacity information. List assumptions and exclusions so bids can be compared.
Are modular or custom clothing fixtures better?
Neither is universally better. Modular fixtures can make layout changes and replacement more straightforward when components are compatible. Custom units may solve a specific dimensional, brand, or presentation requirement. Compare the total scope, approval effort, maintenance, and future changes against the problem each option is meant to solve.
How do I know if a clothing rack is suitable for my store?
Check its dimensions, intended garment use, adjustment method, finish, stability and anchoring instructions, supplier-stated capacity, and fit with the rest of the layout. Ask the supplier to provide these details for the exact model and configuration you are buying.
What should I verify before approving a fixture sample?
Compare the sample with the written finish description, check color and sheen under the store’s lighting, confirm hardware and connection details, and test the display with the garments or accessories it will hold. Record approval and any agreed changes before production.