
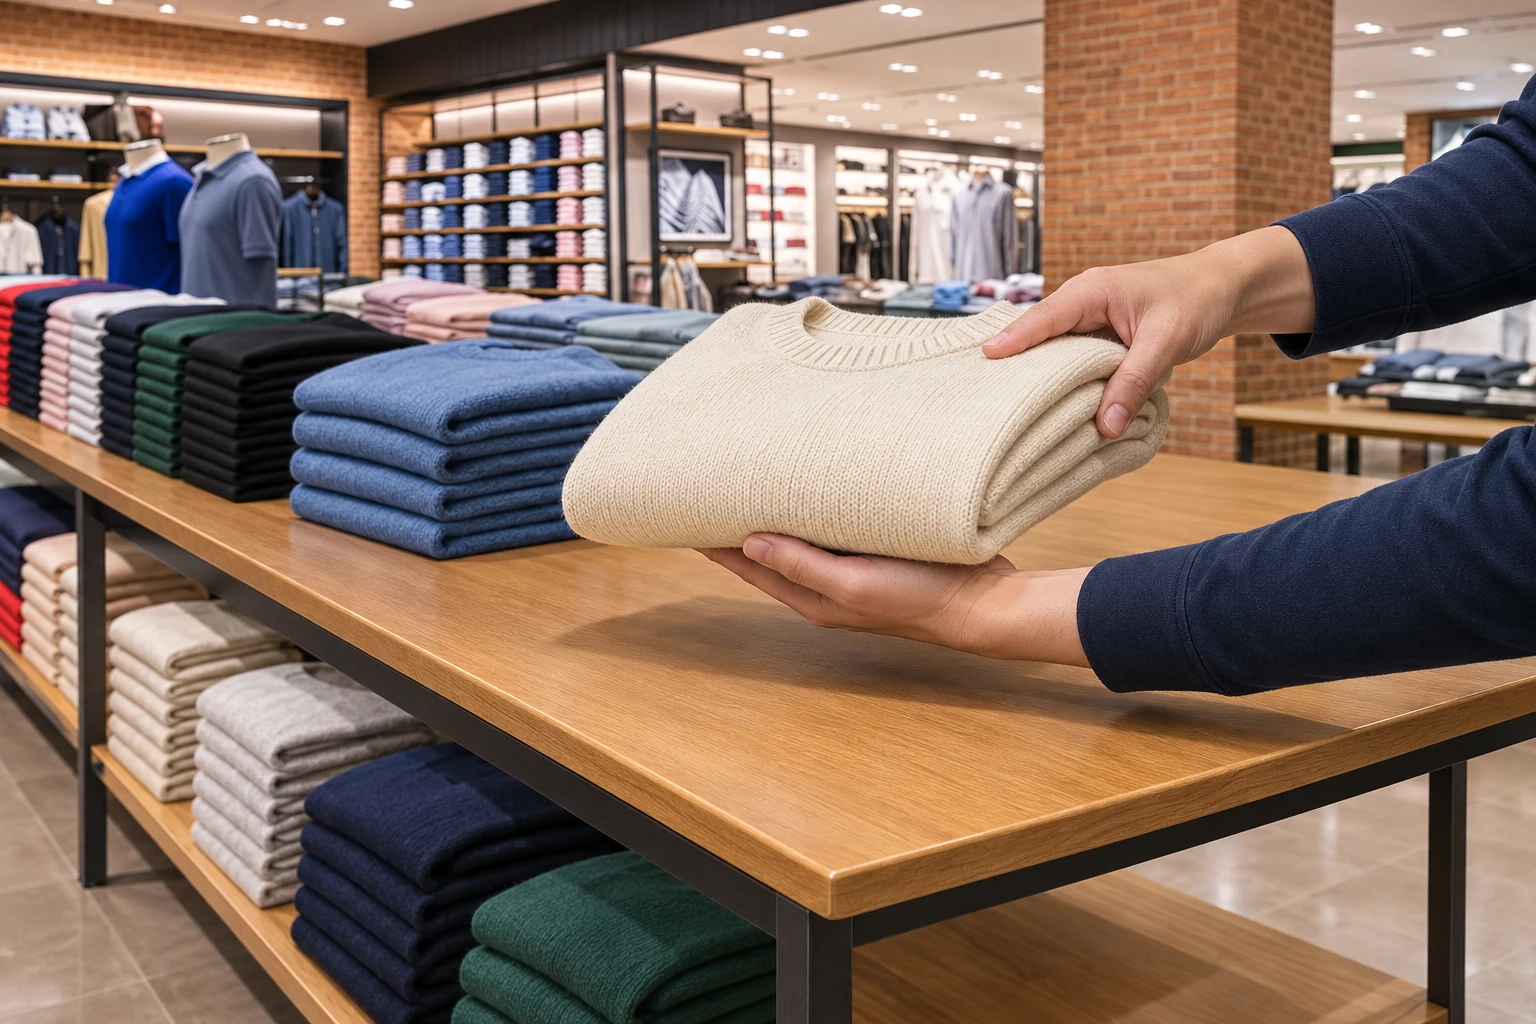
Folded knitwear shelf snag prevention starts with the complete route a garment takes across a display: the shelf surface, front edge, joints, nearby fittings and the shopper’s hands. Inspect the assembled fixture, then try representative sample garments with normal lift-and-return movements. Stop at the first catch; do not pull fabric across a suspected defect. Record the location, ask the fixture supplier to resolve it and repeat the same check before stocking saleable merchandise. A smooth-looking photograph cannot establish whether a shelf is suitable for a particular knit.
This guide helps apparel buyers prepare a practical sample review. It is not a laboratory snag-resistance test, a surface-finish specification or a guarantee against garment damage. Follow garment care labels and the fixture manufacturer’s instructions throughout.
Define the garment and the movement before judging the shelf
Two sweaters can behave differently on the same display. A compact knit, an open loop structure, a textured cuff and an attached label may meet the furniture in different ways. Bring representative samples from the intended assortment rather than choosing only the easiest garment to handle. Use approved demonstration stock or spare swatches; agree in advance that a check must stop before a catch becomes damage.
Write down the intended position of each folded stack, where staff replenish it and where shoppers lift it. Include the return movement: a garment may clear the edge when removed but brush a price holder when returned sideways. Review sleeves, hems and care labels as well as the folded body. The goal is to identify a specific contact point and improve the arrangement, rather than blame every pulled thread on the shelf.
For the broader fixture package, use the clothing store fixtures buyer’s guide. Keep this sample review separate from decisions about layout, quantities and the overall merchandising concept.
Use a real fixture reference, then inspect its actual sample
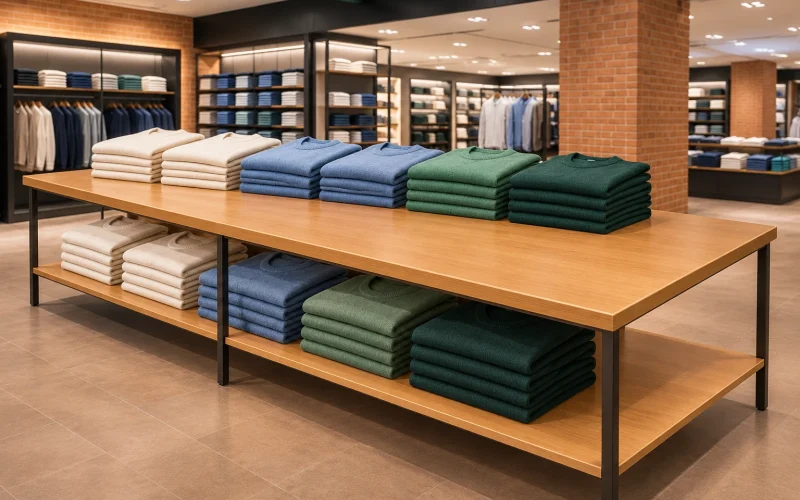
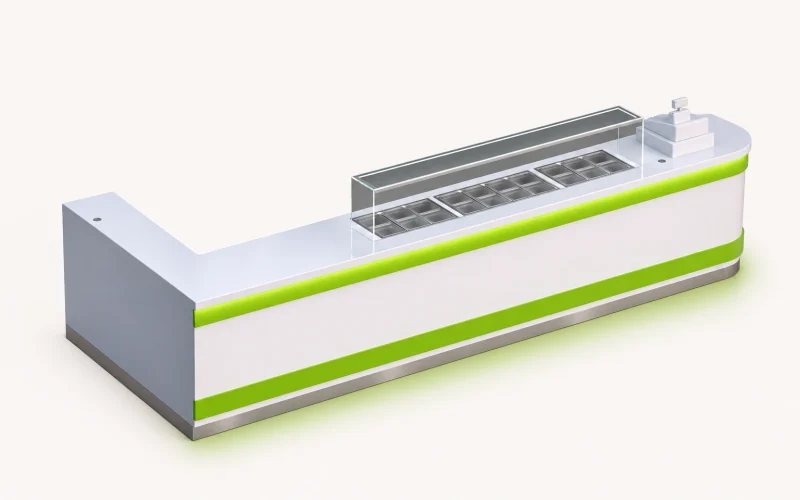
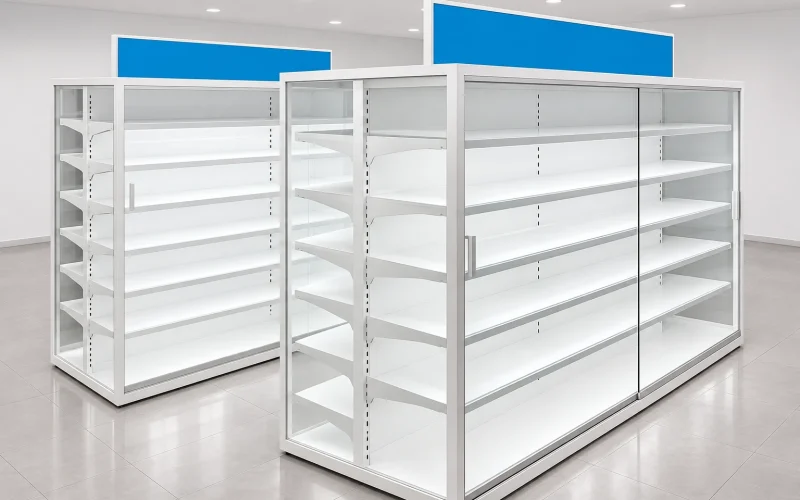
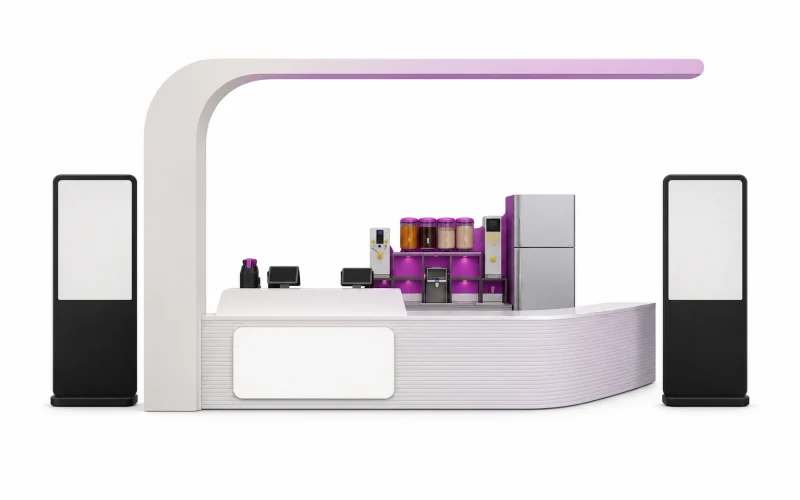
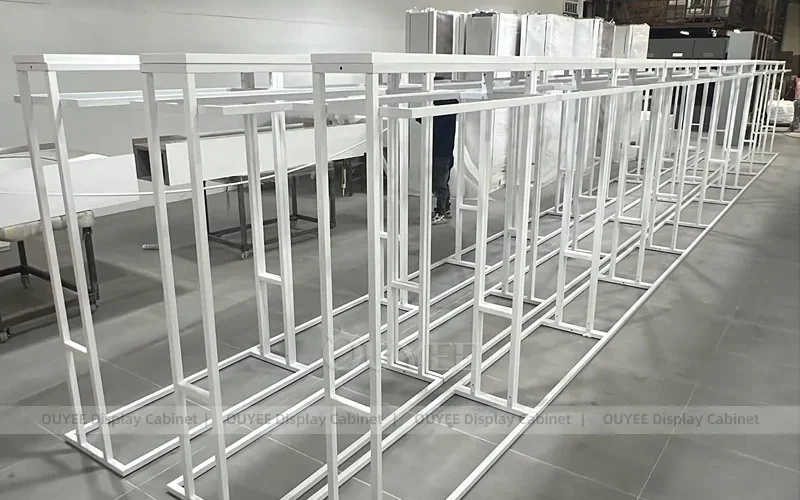
The Folded Apparel and Suit Wall Boutique Set provides the product reference for the illustrations here. Its published photographs show wood-toned rectangular display surfaces, folded apparel, lower open shelving and surrounding garment presentation bays. Those visible features explain why the furniture is relevant to folded stock. They do not reveal edge roughness, concealed fasteners, coating performance or an approved load.
Request the assembled sample in the proposed finish, including normal shelf supports and the exact label accessories intended for the store. A bare panel alone cannot show how a bracket, corner or sign holder interacts with a garment. Confirm which details are standard, which are optional and which still require a drawing or sample approval. Do not assume that the illustrations document a completed inspection.

Inspect edges, joins and nearby hardware systematically
Start with the fixture empty and correctly assembled. Use good light to look along the front edge, corners, panel joins and accessible undersides. Look for lifted edging, chipped finishes, projecting fasteners, uneven joints or accessories extending into the garment route. Do not run bare fingers along a potentially sharp surface. Escalate questionable parts to the supplier instead of improvising an inspection that could injure staff.
Check the same details at the lower shelf. Staff may reach beneath the main display while holding a sweater, exposing it to a different edge or support. Examine price clips, promotional frames and adjacent hanging garments too. A snag near a display is not necessarily caused by the main tabletop. Keep a simple location sketch so a supplier can distinguish the front-left corner from a rear joint or a separate fitting.
The following is a proposed retail sample-review record, not a standardized test or a statement that this product contains any listed defect. Acceptance should be agreed for the actual fixture and assortment.
| Contact point | What to observe | Action before stocking |
|---|---|---|
| Front edge and corners | Garment touches the edge during normal lifting or return | Record the route; resolve any catching point and repeat the check |
| Panel joins and edging | A visible step, loose strip or damaged surface interrupts contact | Ask the supplier to assess and correct the sample |
| Supports and underside | A sleeve or label reaches beneath the display | Check the actual reach route with approved demonstration stock |
| Price holders and signs | A cuff, hem or label meets an accessory | Review position and attachment; confirm any replacement accessory |
| Stack position | Customers drag garments because access is awkward | Adjust the proposed arrangement and repeat normal handling |
| Cleaning and maintenance | Residue, damage or a loose component appears after routine care | Follow approved instructions and reassess before returning stock |
Run a controlled lift-and-return check
Begin with a clear, clean surface and one demonstration garment. Inspect the garment first so existing pulls are not mistaken for new damage. Position it as planned, lift it with support and return it normally. Repeat from the staff replenishment side and the customer side if those routes differ. Observe where fabric, trims and labels touch; avoid deliberately scraping a vulnerable knit along an edge.
If resistance occurs, stop and support the garment. Do not tug to see how strong the catch is. Identify the contact point without enlarging the problem, photograph the location and remove that part of the display from the proposed stocking arrangement. Refer garment damage to the responsible apparel specialist; this guide does not recommend cutting loops, pulling yarn ends or repairing merchandise.
Once the supplier resolves a fixture issue, repeat the original movement with an approved sample. A different garment or a different direction can hide the original problem. Record the revised part or accessory, sample identity and outcome. A successful demonstration supports that particular arrangement; it does not establish universal performance for every fabric or future fixture condition.
Reduce avoidable catching during daily handling
Keep the intended lift area accessible. If the display arrangement forces shoppers to pull a garment out from beneath an awkward stack, revisit the arrangement using the actual assortment. There is no universal stack height that proves snag prevention. Check whether staff can replenish, refold and replace garments without pressing fabric into signs or surrounding fittings.
People and adjacent products also matter. National Museums Scotland’s object-handling guidance identifies fastenings, beadwork and sequins as potential catching points. Its museum context differs from a shop, but the contact-risk principle is useful when separating embellished items from open knits. Include staff jewellery and garment trims in the discussion rather than assuming furniture is the only source.
For complementary presentation ideas, see the apparel display guide and retail clothing presentation guide. Use those ideas only after checking the intended arrangement with the sample stock.
Separate conservation principles from retail acceptance
The Canadian Conservation Institute’s basic textile care guidance discusses supporting textiles and removing jewellery that can catch threads. These are general handling principles from museum practice. They do not certify retail furniture or establish a commercial test method for new garments.
Winterthur Museum’s conservation resources include a textile handling film as part of its Care in Handling series. Apply the relevant principle—plan contact carefully—while following the apparel supplier’s instructions for modern merchandise. Do not import conservation treatments, chemical products or storage specifications into a store without checking suitability.
The Indiana Historical Society video below offers further background on handling and storing textiles in museum collections. It is educational context, not a demonstration or endorsement of Ouyee fixtures, and the article’s retail review does not depend on watching it.
Watch Timely Tips: Handling and Storing Textiles from the Indiana Historical Society.
Agree the handover record and recheck triggers
Before approving an order, send the fixture supplier the garment sample list, intended finish, edge and join photographs, accessory positions and the normal handling routes. Ask who resolves a catching point, how changes are identified and whether replacement fittings require another sample review. Keep unresolved items visible on the approval record rather than treating a showroom photograph as acceptance.
After installation, compare delivered fixtures with the approved sample. Recheck when an edge is damaged, an accessory moves, a component loosens, cleaning leaves an unexpected residue or the garment assortment changes. Follow the manufacturer’s care instructions; do not sand, coat or tape over a defect without an agreed repair. For a project discussion, share this record with the clothing display solution team alongside layout and finish requirements.
Frequently asked questions
Can a smooth-looking shelf still catch knitwear?
Yes. A photograph may hide an uneven join, damaged edge or nearby fitting. Inspect the assembled sample and observe the actual garment route.
Should we test with saleable sweaters?
Use approved demonstration garments or spare swatches. Check their condition first, and stop immediately if fabric catches rather than pulling it free.
Does one successful sample check prove every knit is suitable?
No. The result applies to the reviewed garment, fixture condition and handling arrangement. Reassess when those conditions change.
Can a shelf liner replace fixing a rough edge?
Do not assume it can. Resolve the defect with the supplier first; any proposed liner also needs checks for fit, movement, cleaning and garment compatibility.
When should the store repeat the review?
Repeat it after relevant repairs, accessory changes, visible damage or an assortment change, and whenever staff report catching during normal handling.










 English
 German
 Arabic
 French
 Spanish
 Italian
 Russian
 Turkish
 Portuguese
 Japanese