Phone Repair & Sales Shop Interior Design: Visual Concept and Retail Purpose
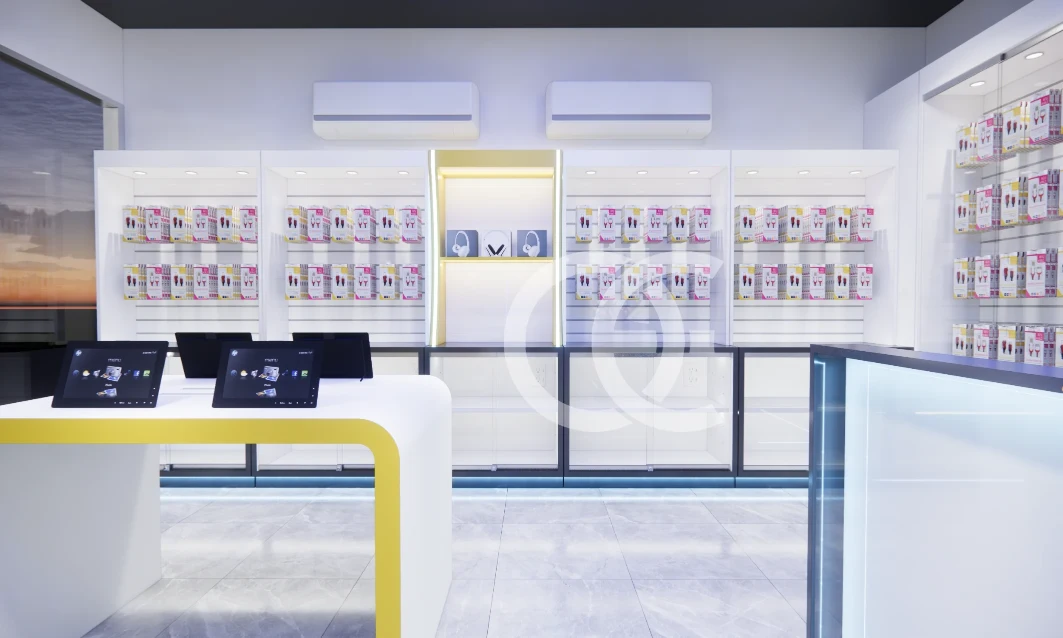
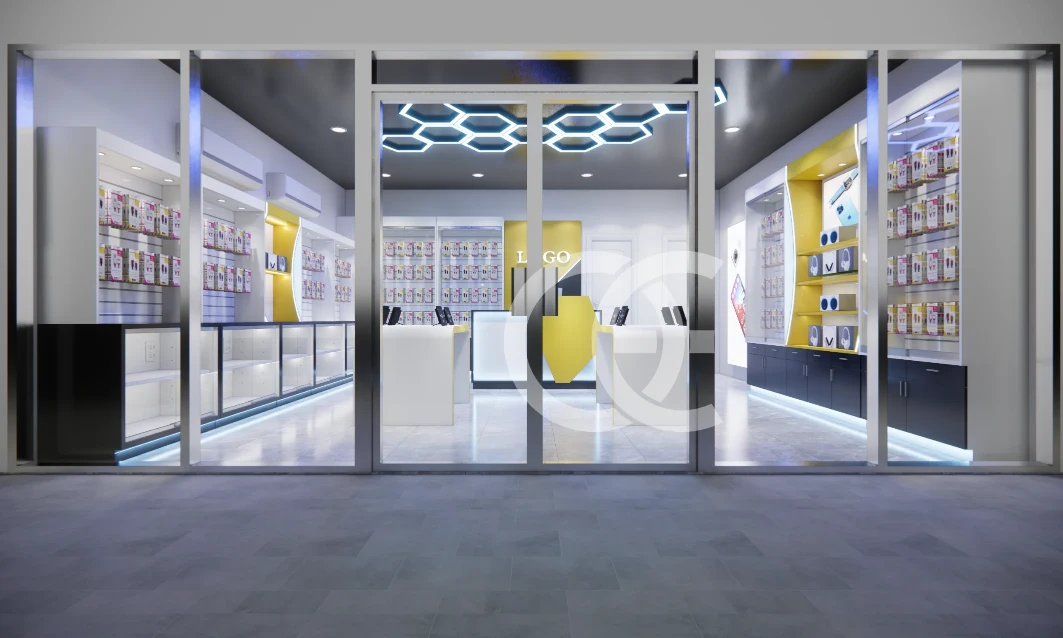
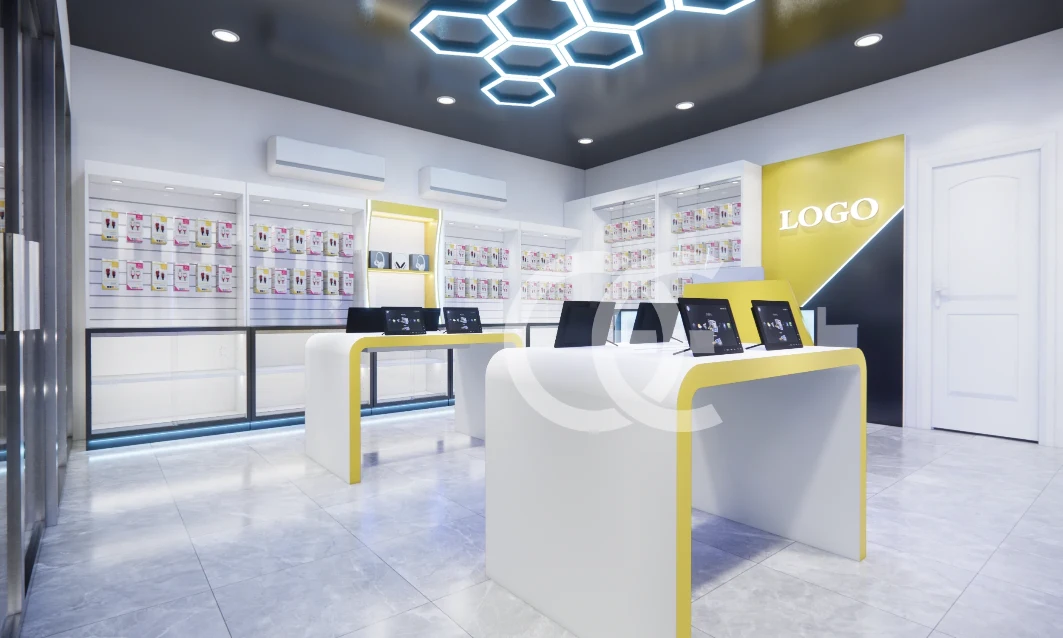
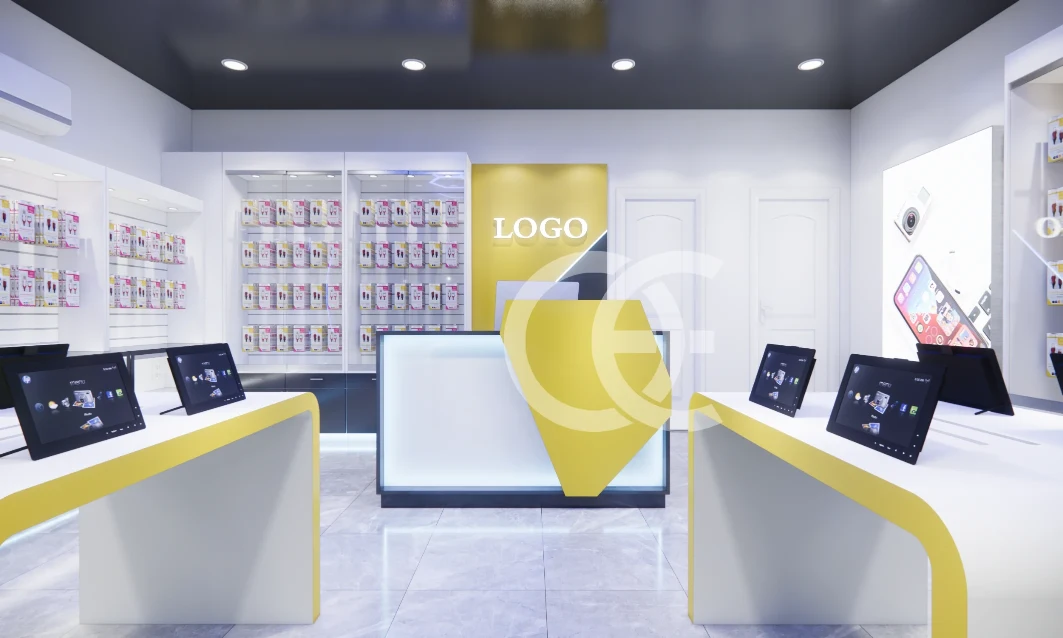
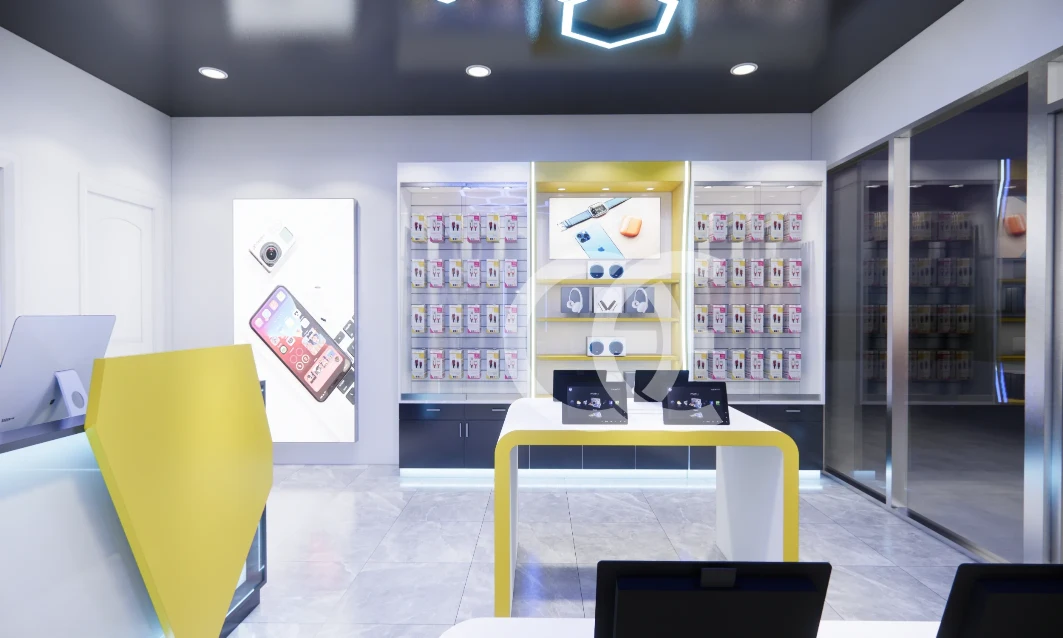
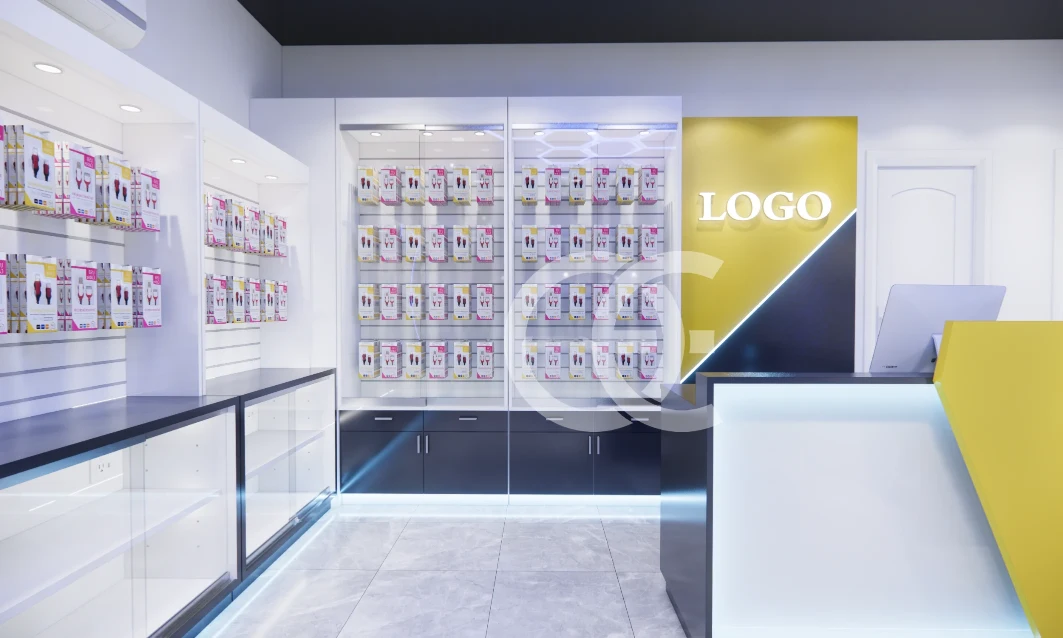
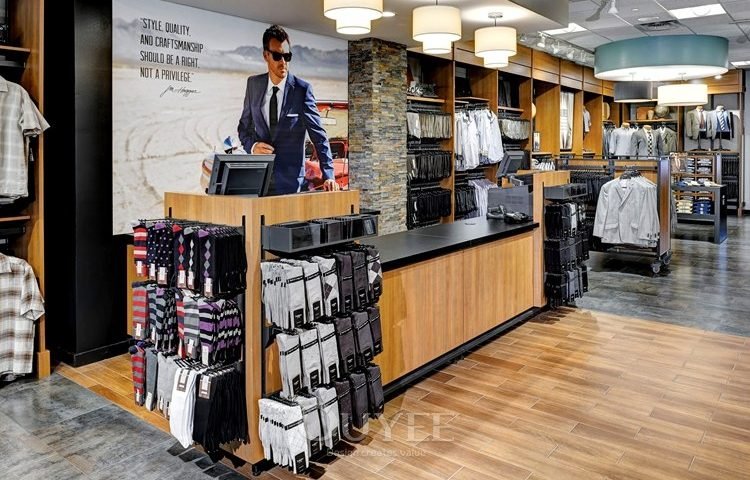
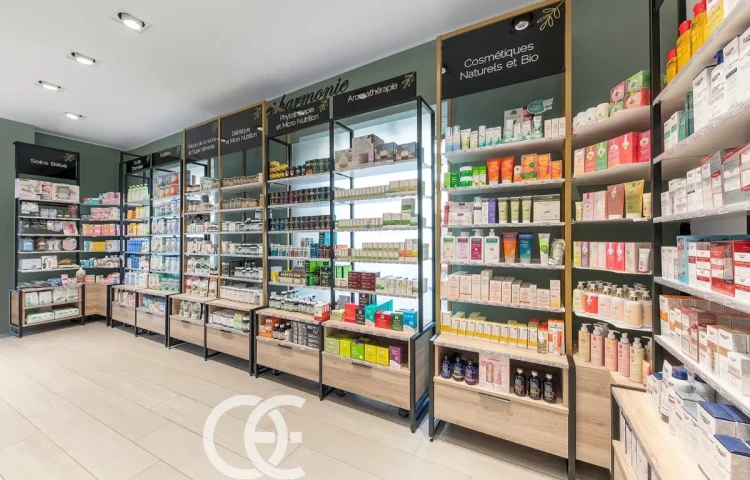
This rendering gives the Phone Repair & Sales Shop Interior Design a specific visual identity through its light gray, gray, white color balance and clearly defined full-store layout. The composition directs attention toward the merchandise rather than letting the furniture dominate the scene.
Its commercial value comes from applying the visual direction to real merchandise—smartphones, accessories, connected devices, and live demonstration products. That makes the project relevant not only to Phone Repair & Sales Shop Interior Design, but also to searches for mobile phone display stand, smartphone demo table, and phone accessory wall.
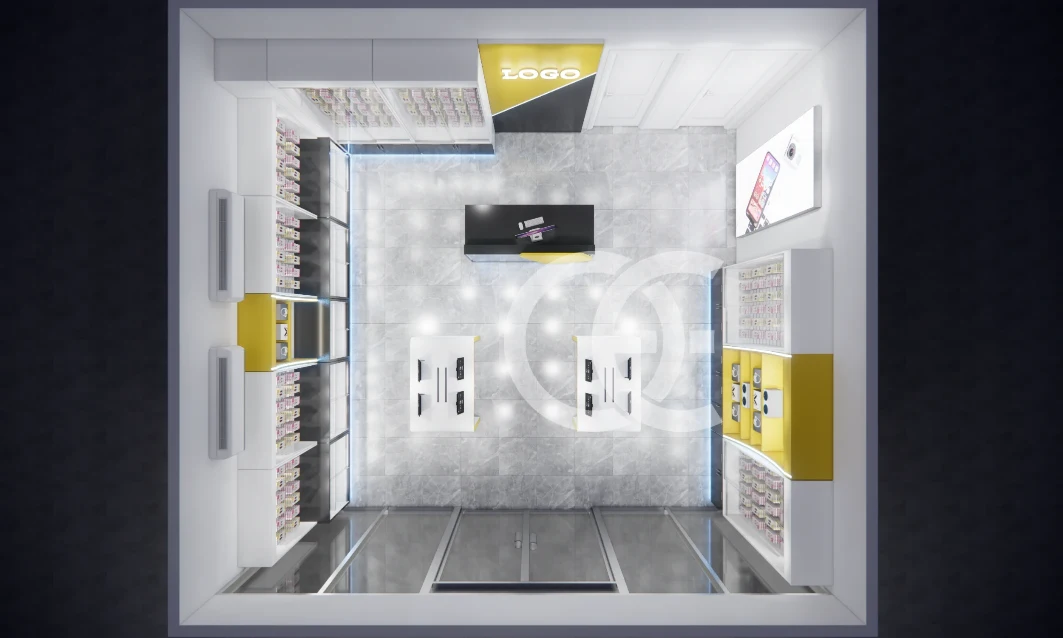
Customer Flow and Full-Store Layout Placement for Phone Repair & Sales Shop Interior Design
Rather than filling every surface, the layout should preserve breathing room around the main full-store layout. This improves product recognition and leaves space for customers to approach, compare, and move toward the next category.
A coordinated package can add powered demo tables, accessory walls, lockable cabinets, service desks, and launch displays. Their heights, openings, and storage positions should follow one visual language so that cable management and electronics store fixtures read as a connected fixture family.
Fixture Details: Open Fixture Geometry in Phone Repair & Sales Shop Interior Design
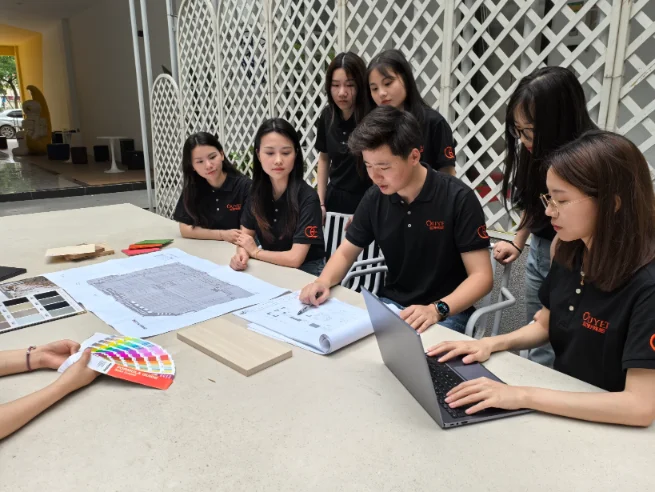
The visual balance relies on light gray, gray, white tones, so material selection should protect that contrast under real store lighting. Sample boards can compare laminate, lacquer, metal coating, glass, acrylic, or stone-look options before production.
The fixture detailing can incorporate open fixture geometry. LED position, cable routes, ventilation gaps, lock locations, removable panels, and cleaning access should be drawn before fabrication rather than solved on site.
Turning This Visual Direction Into Shop Drawings for Phone Repair & Sales Shop Interior Design
To adapt the concept for a real site, Ouyee can translate the image into layout drawings, 3D revisions, material samples, technical elevations, and a module list matched to shipping and installation needs.
With those points resolved, the secure device display can move from an attractive image to an installation-ready system with fewer decisions left for the site team.